
How To Slay An Outfit Selfie

Lights, Camera, Awesome
Members of the Tiny Closet Survival Guide Facebook group are always asking me how I take my outfit shots. Many assume I have a secret photographer friend or a full blown photo studio at my disposal. I don't! Like everything else in my world, my savvy selfie skills are self taught and I am delighted to share my secrets with you.
Outfit Selfie 101 - The Basics
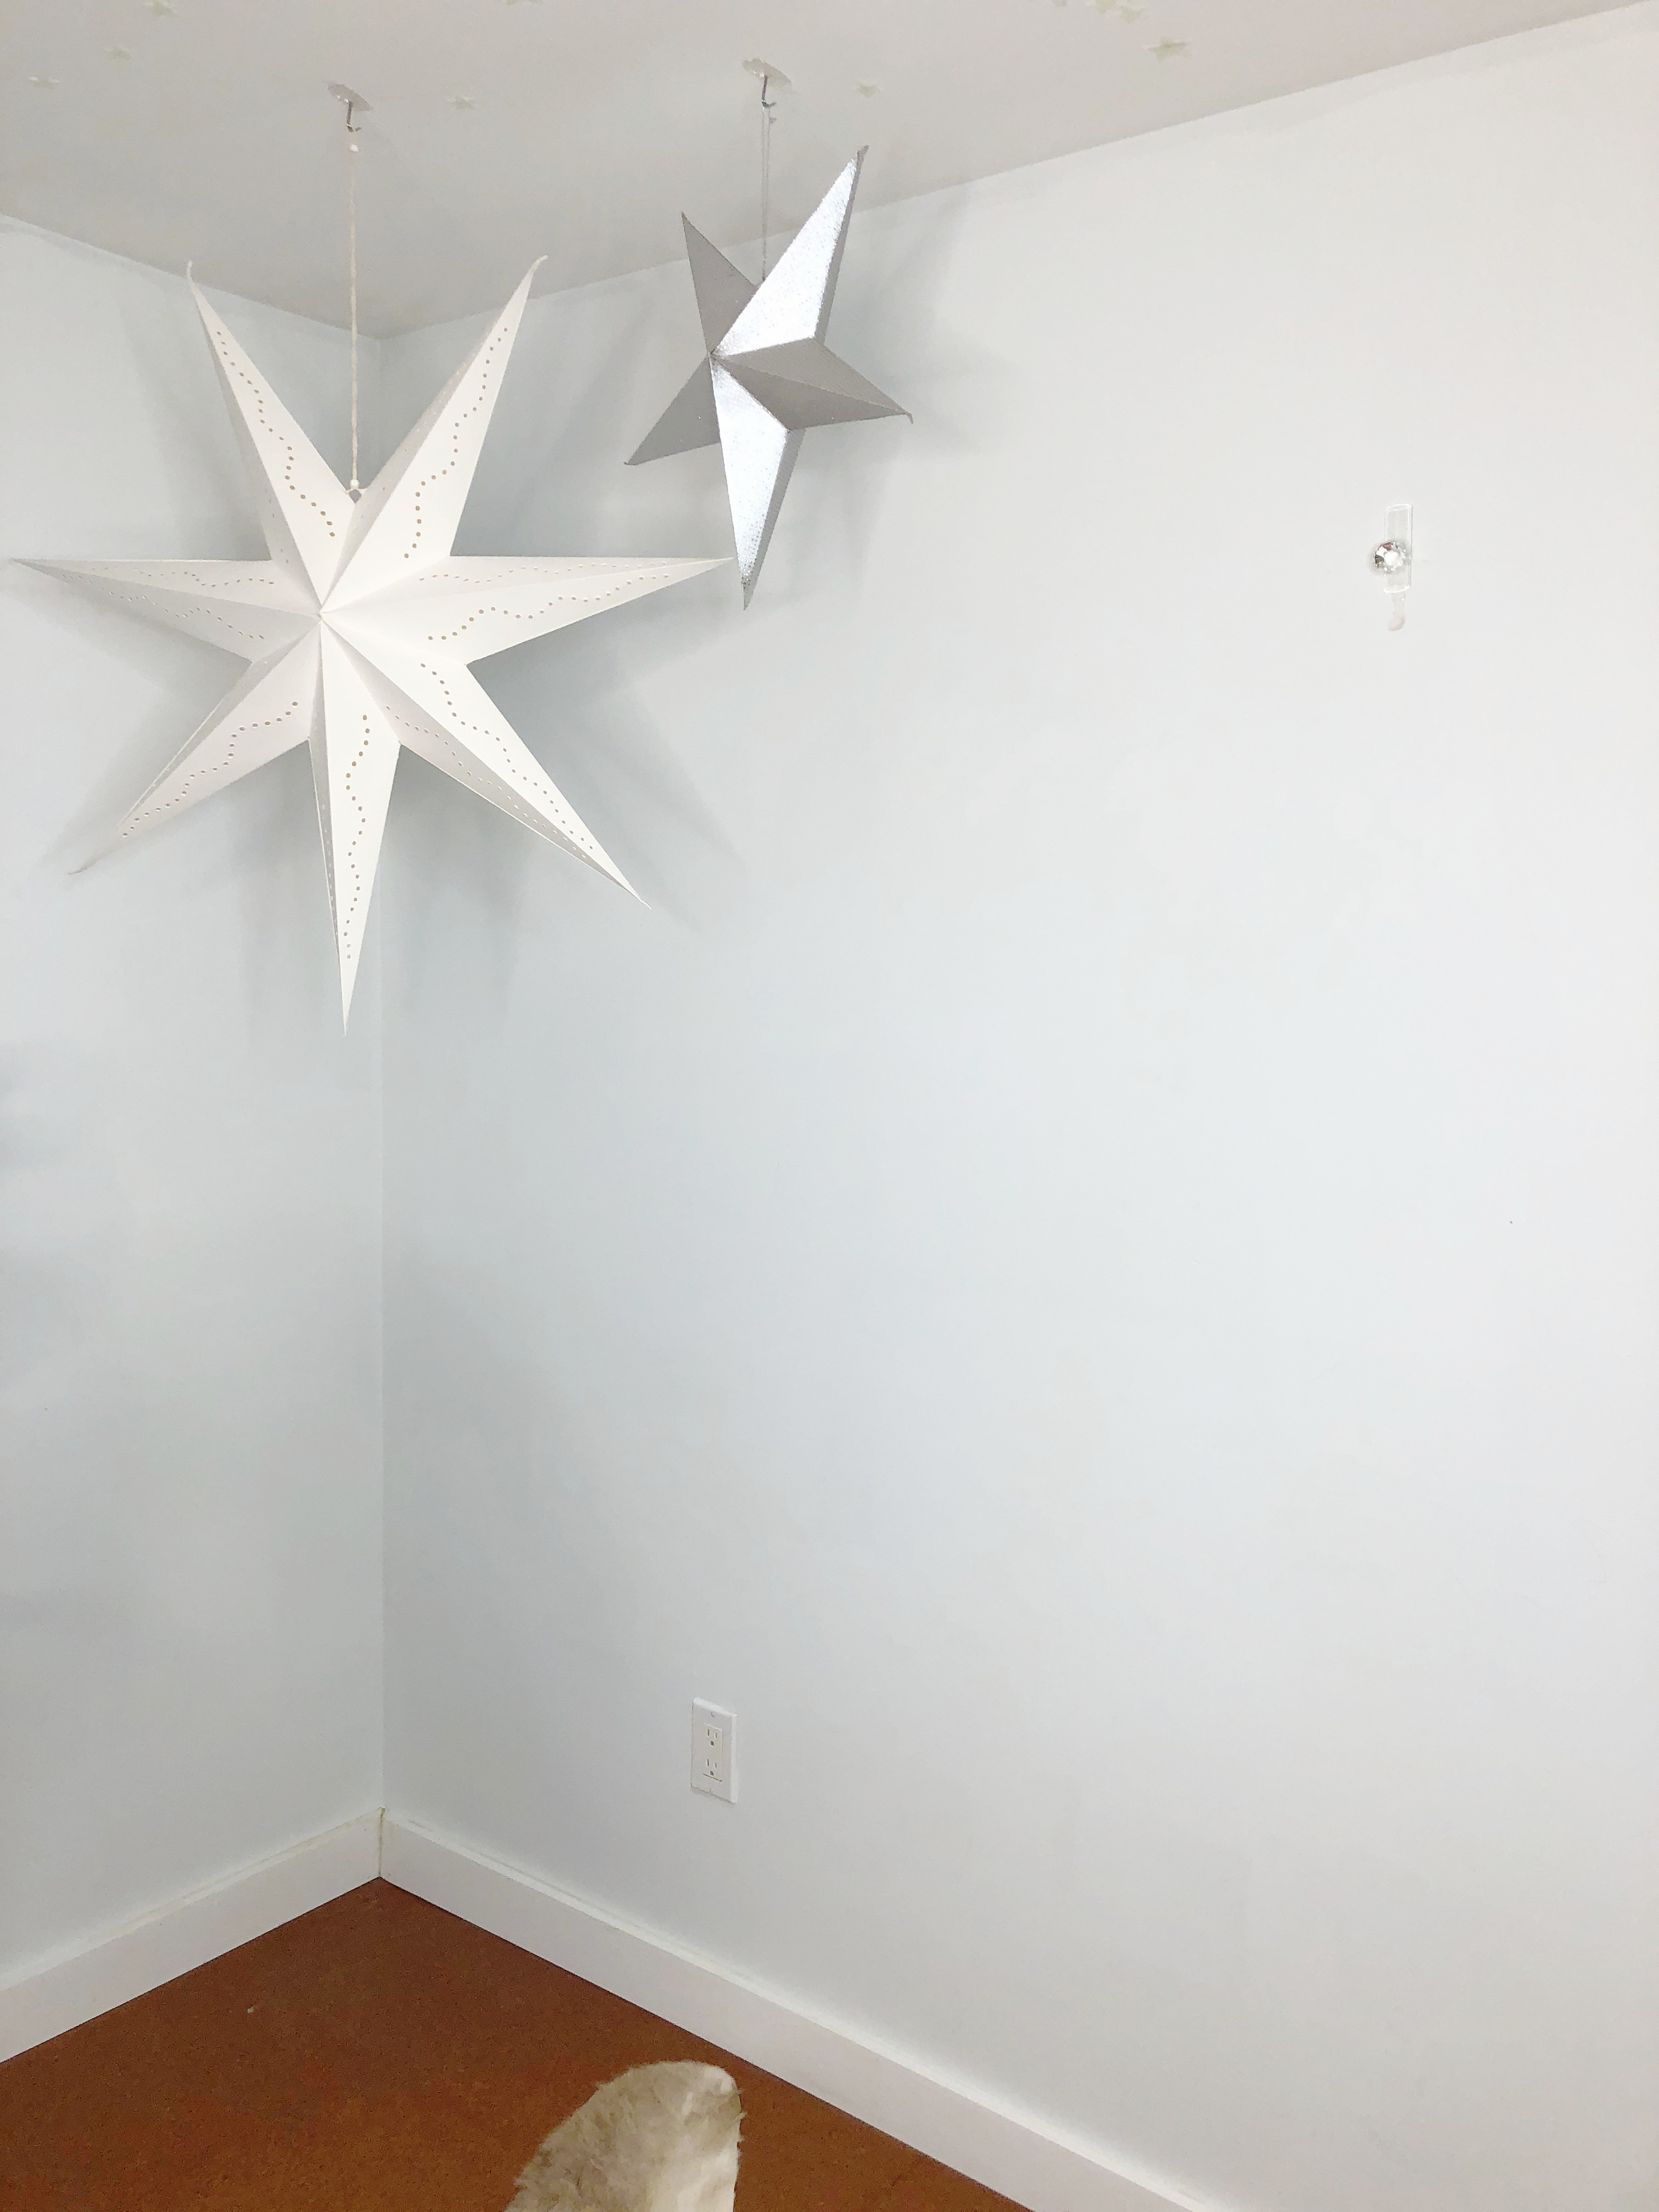
Step 1: Find a clean backdrop
You do not need a lot of space, a photo studio or a completely empty room to take an amazing full body outfit pic. Any clean, light colored bare wall or clean corner will work. Remove all clutter! If your overflowing laundry basket is in the shot - it's the first thing people notice.
Step 2: Mount your camera
Basic Option: Prop your smart phone vertically against a heavy object that won't move (windowsill, stack of books, vase, planter) on a surface high enough to capture your entire outfit, shoes included
Blogger Option: Buy a tripod with a smart phone mount and adjustable legs - I use this $13 tripod by Amazon Basics
Step 3: Set up your shot
- Open the camera in your smart phone and tap the reverse shot icon
- Wipe off the lens! All that gunk in your purse, pocket and on your cheek results in an oil and crud coated lens which results in blurry photos
- Set the self timer and shoot
- Run into place, land on your pose, look into the lens and SMILE
Outfit Selfie 102 - Basic to Blogger

Now that we've covered the basics, I'll let you in on 3 tips sure to elevate your comments from "nice outfit!" to "WOW, you always look so amazing!"
Tip 1: Lighting is Everything
Lighting is the absolute most important factor in looking good on camera. Great light can shave 10 years off your face and make you look like you've slept for 12 hours. Don't even bother with flash.
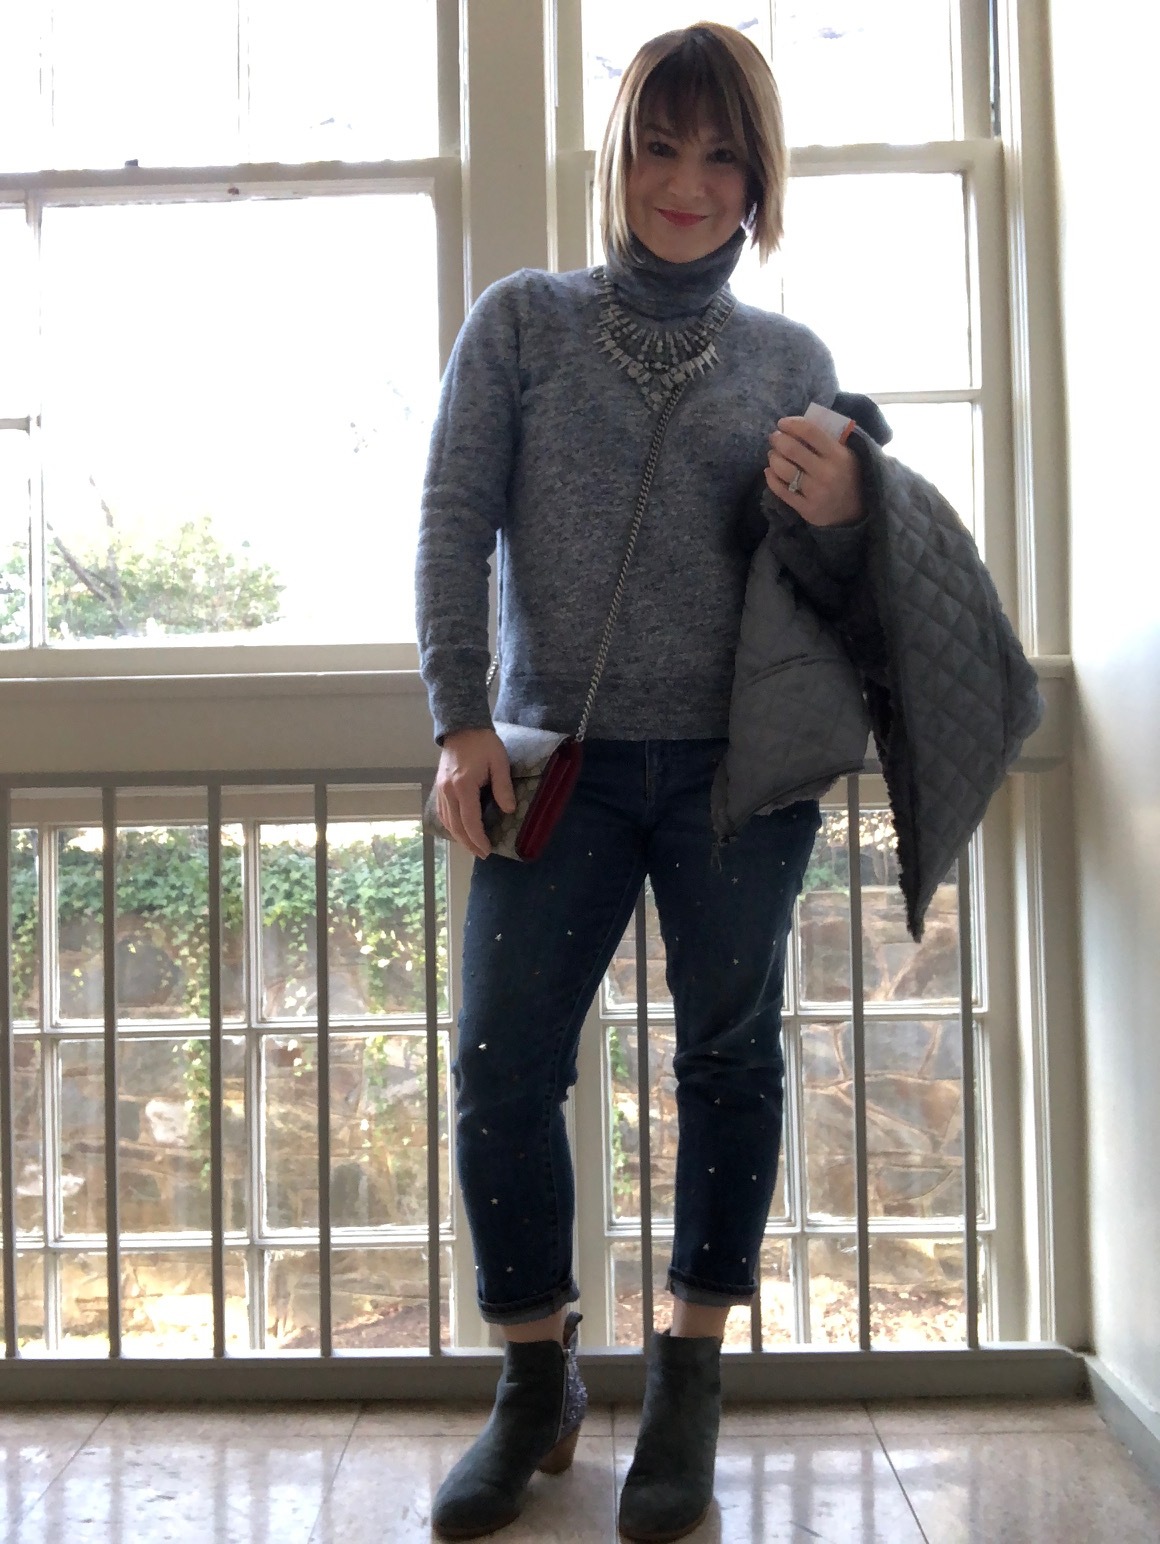
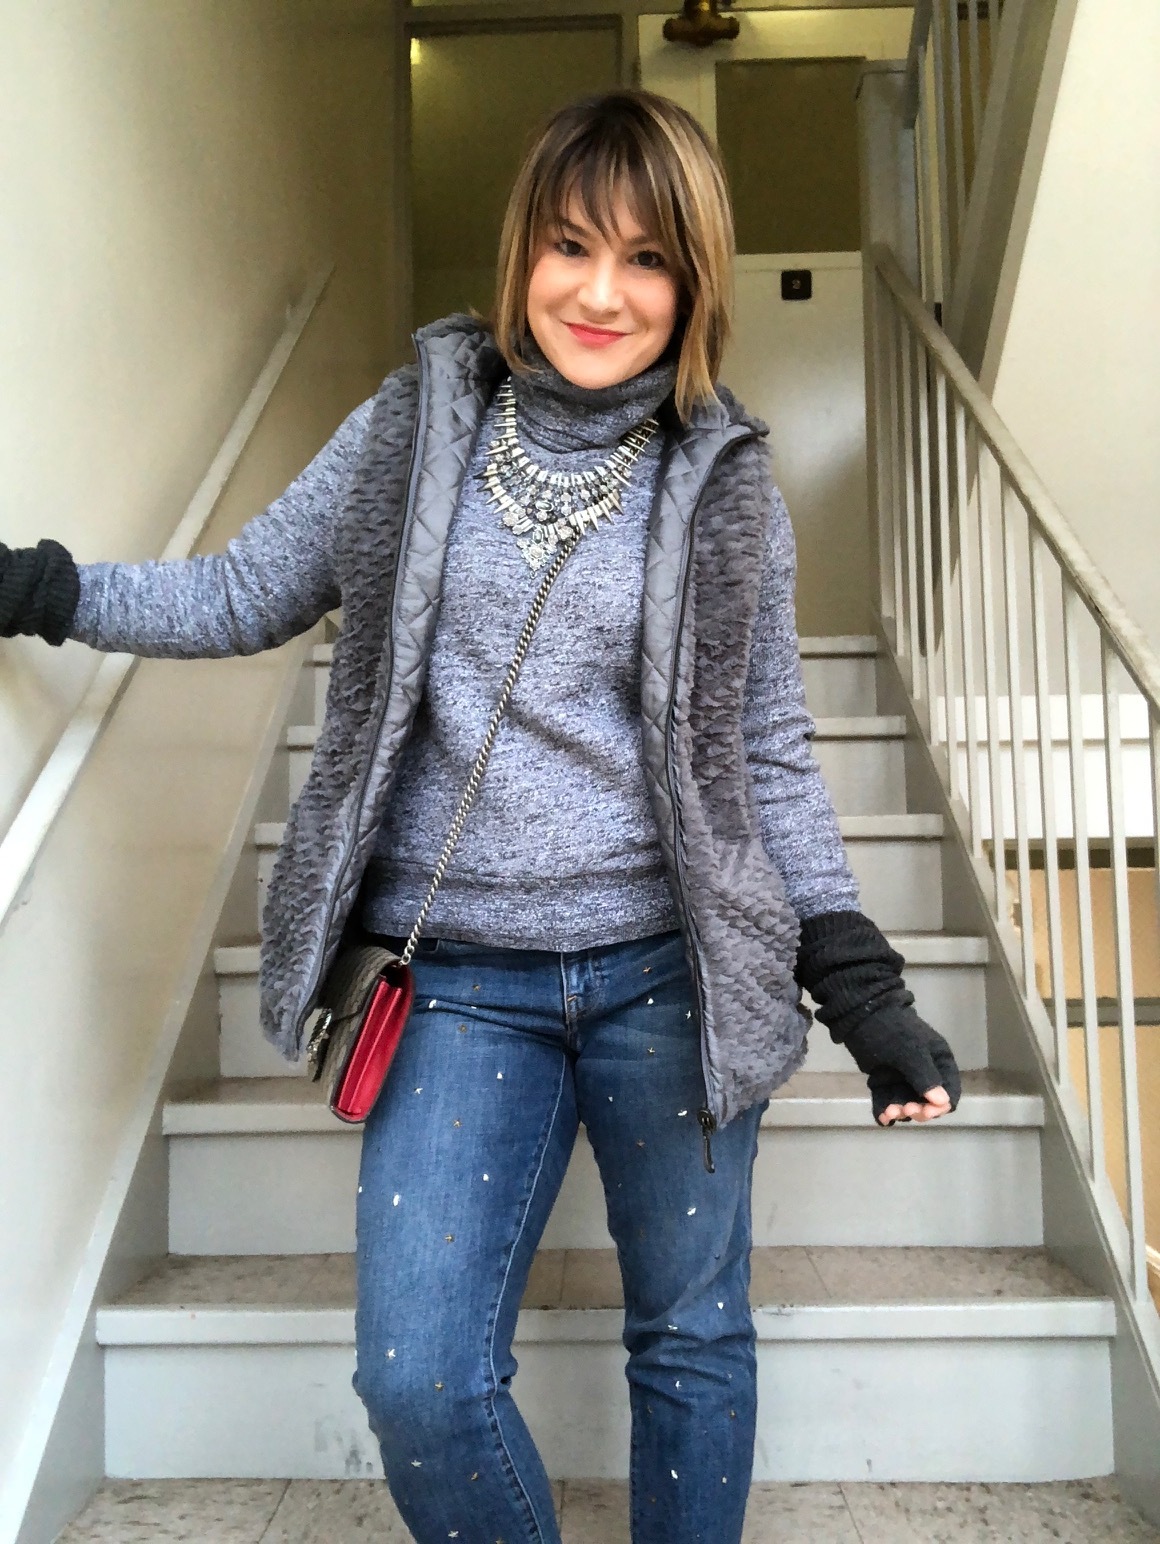
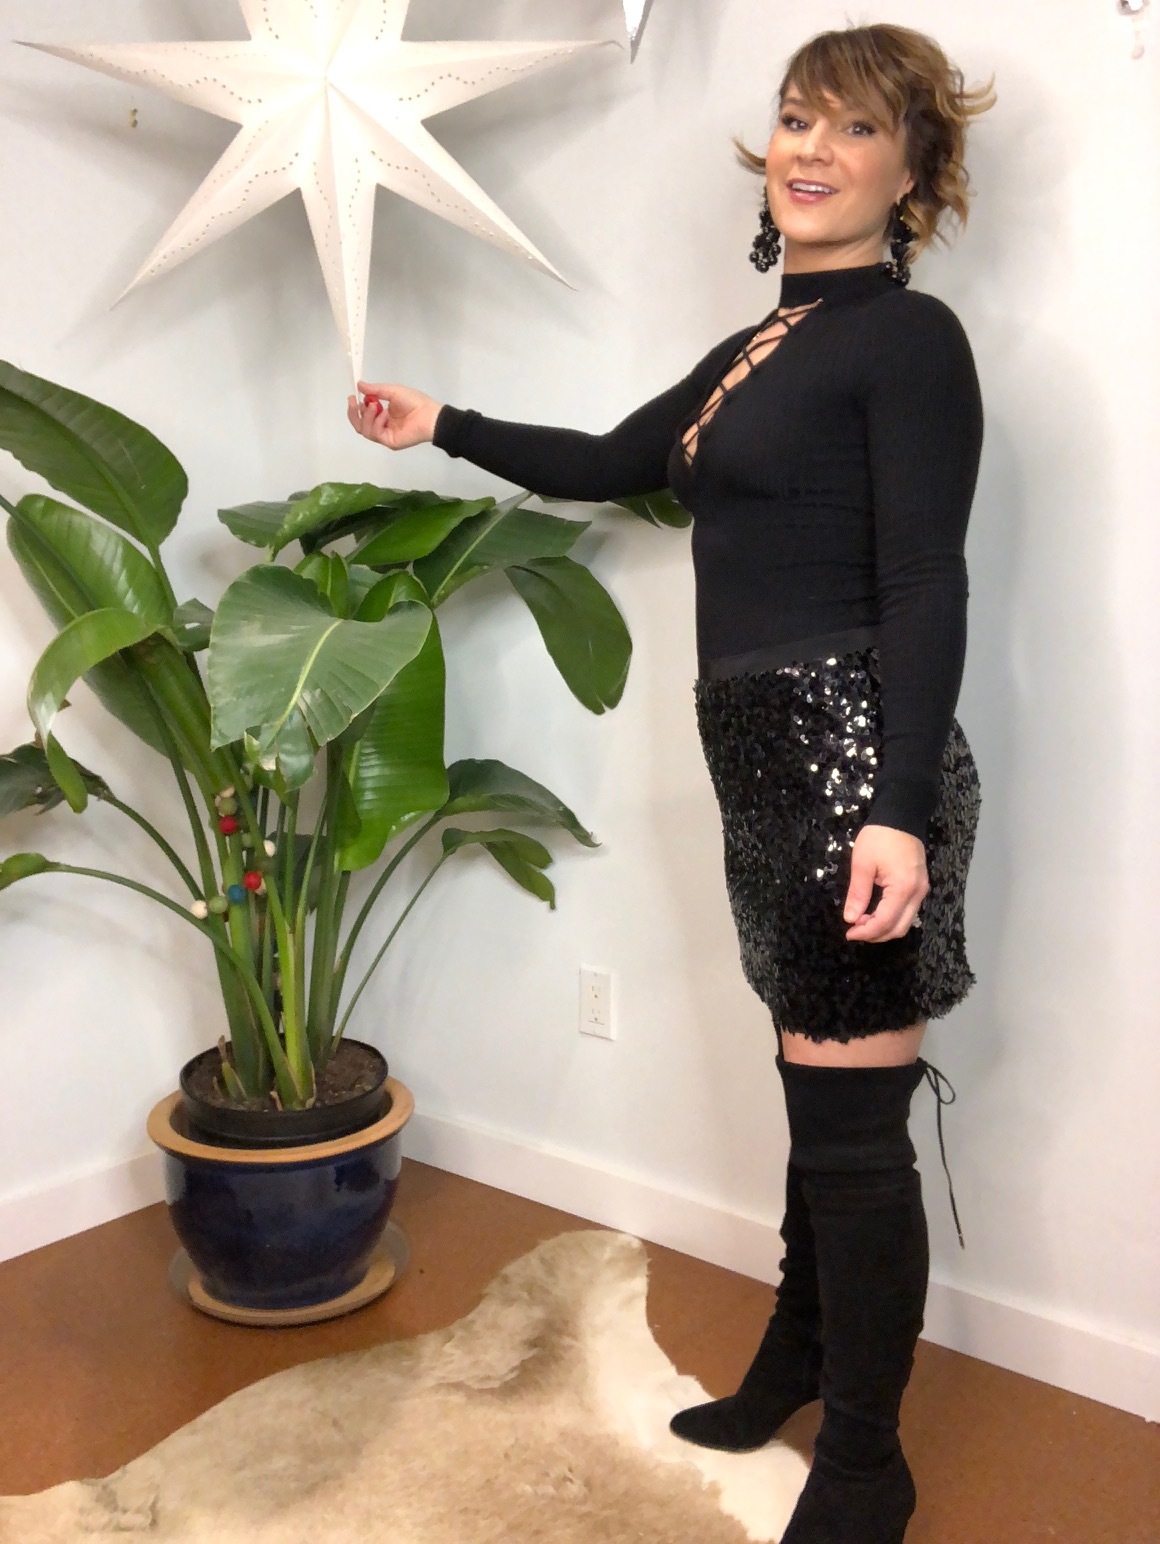
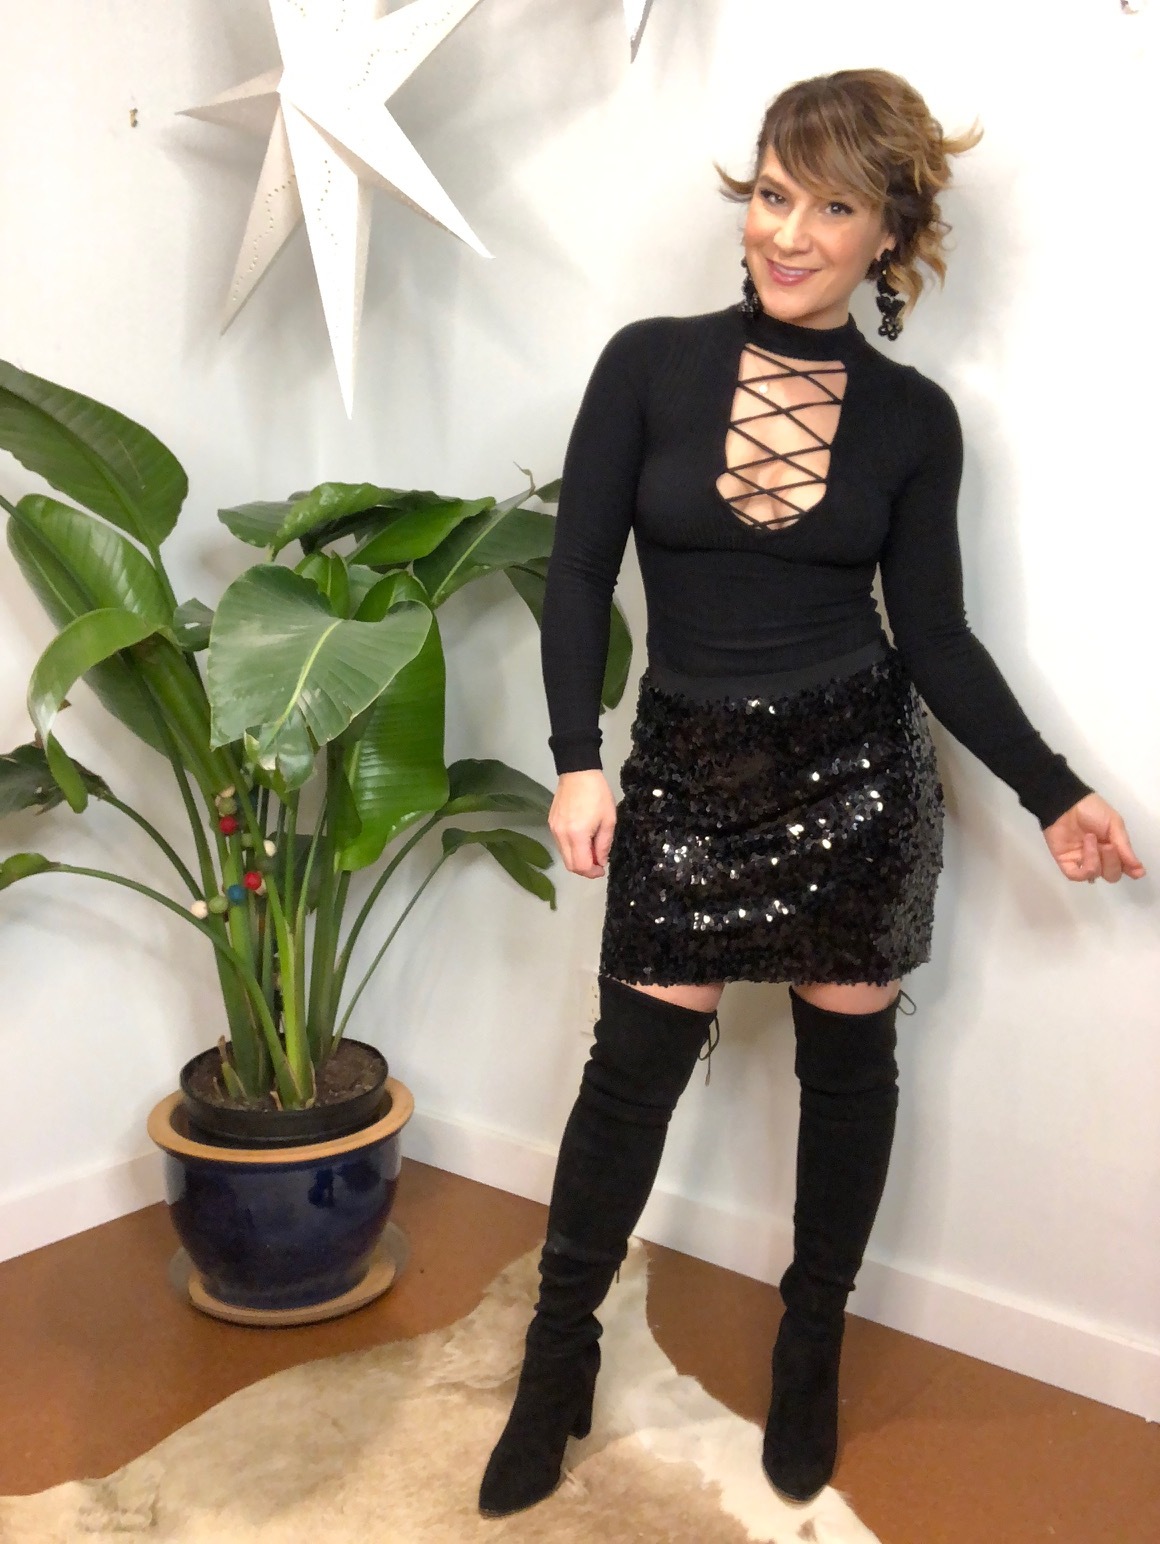
Basic Lighting: Natural Light
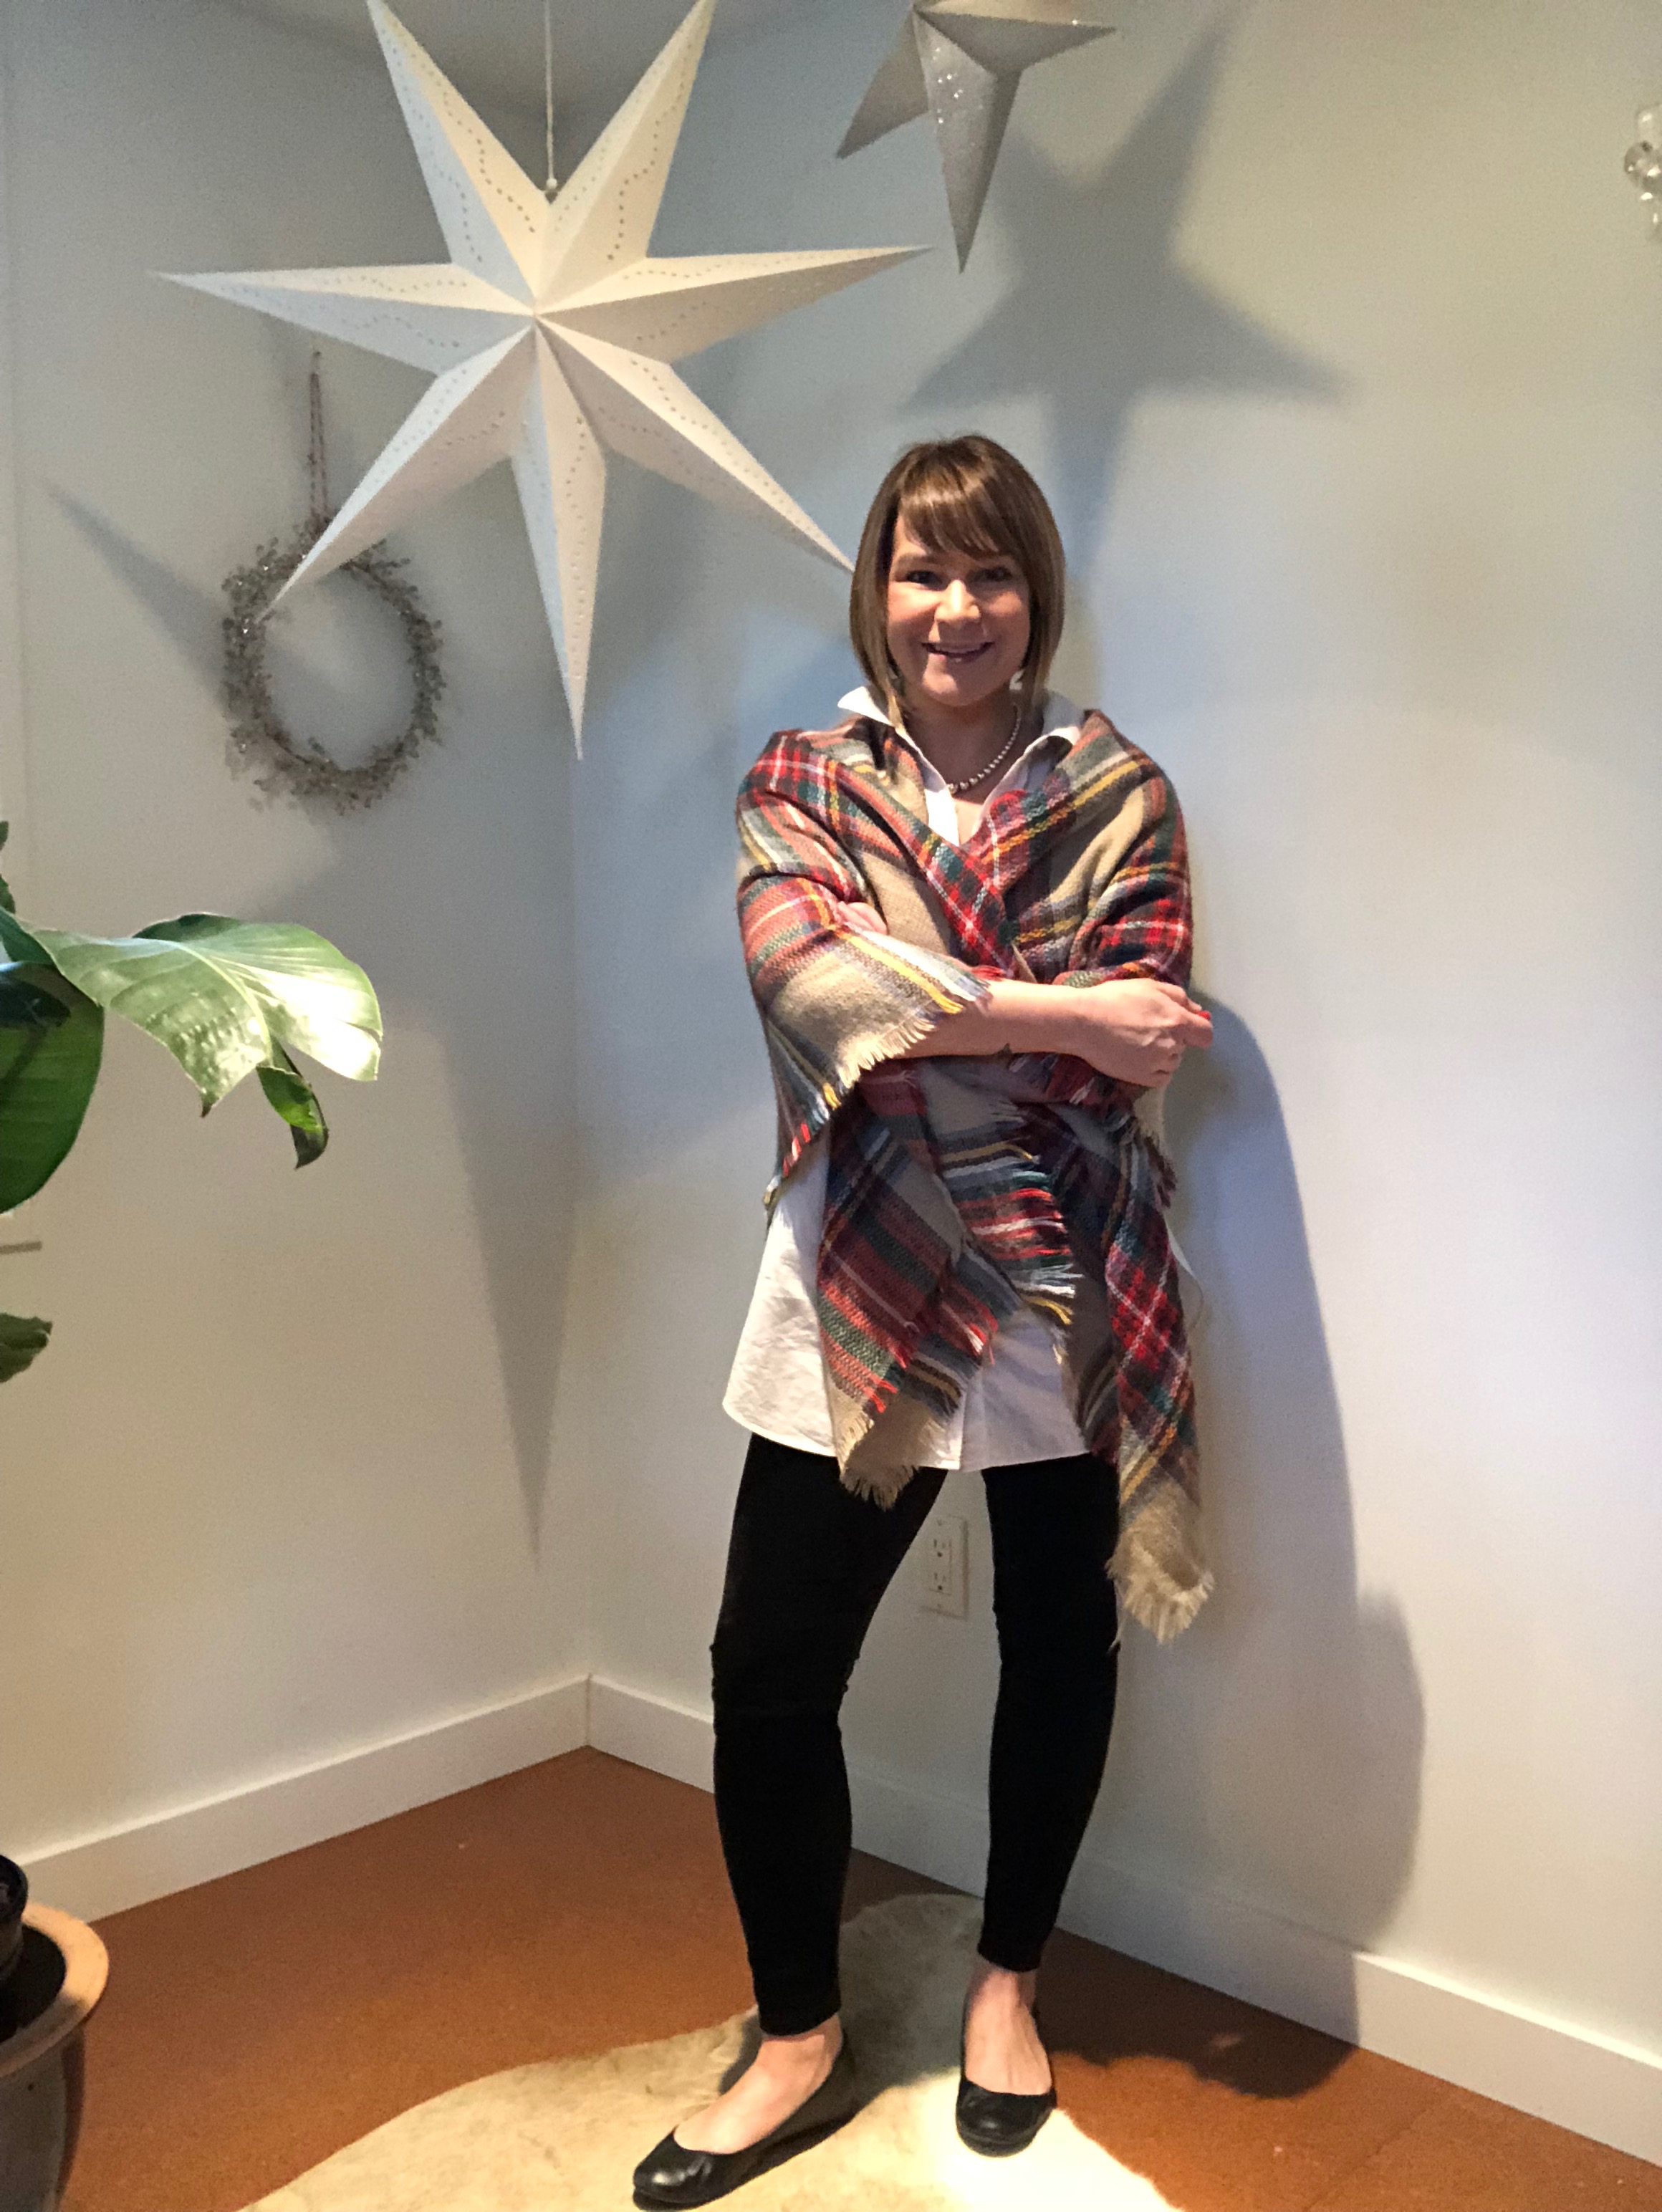
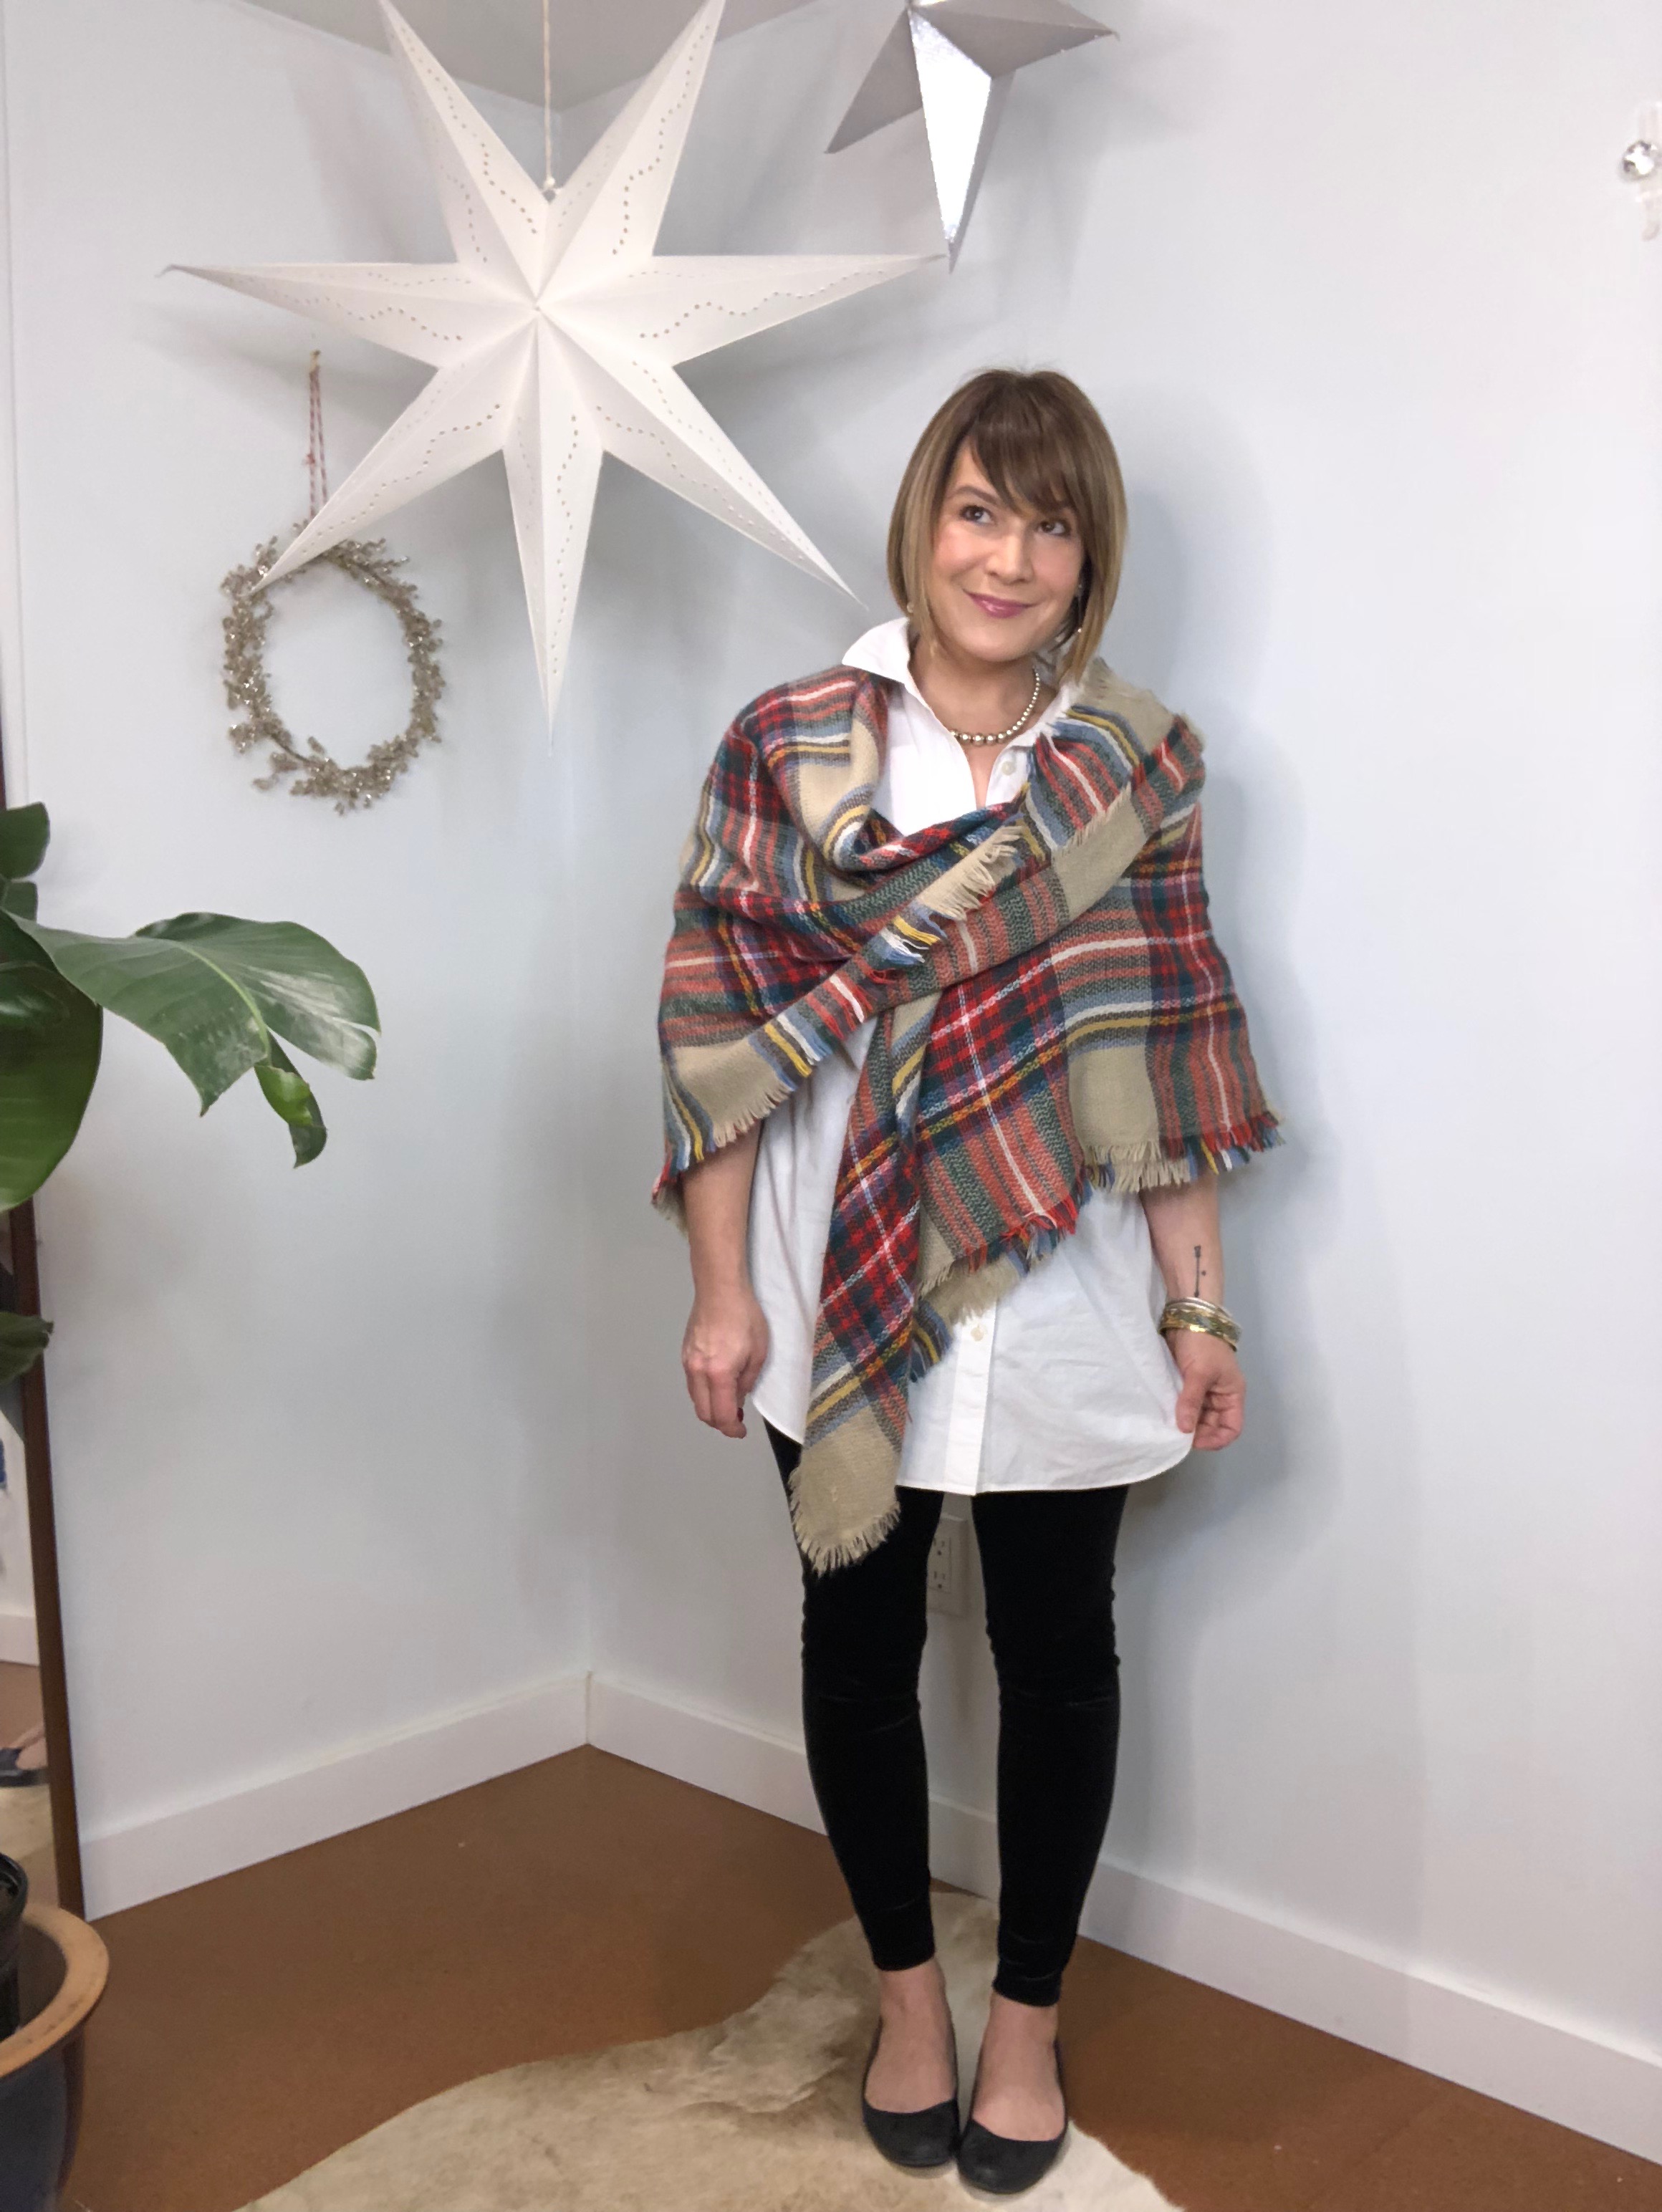
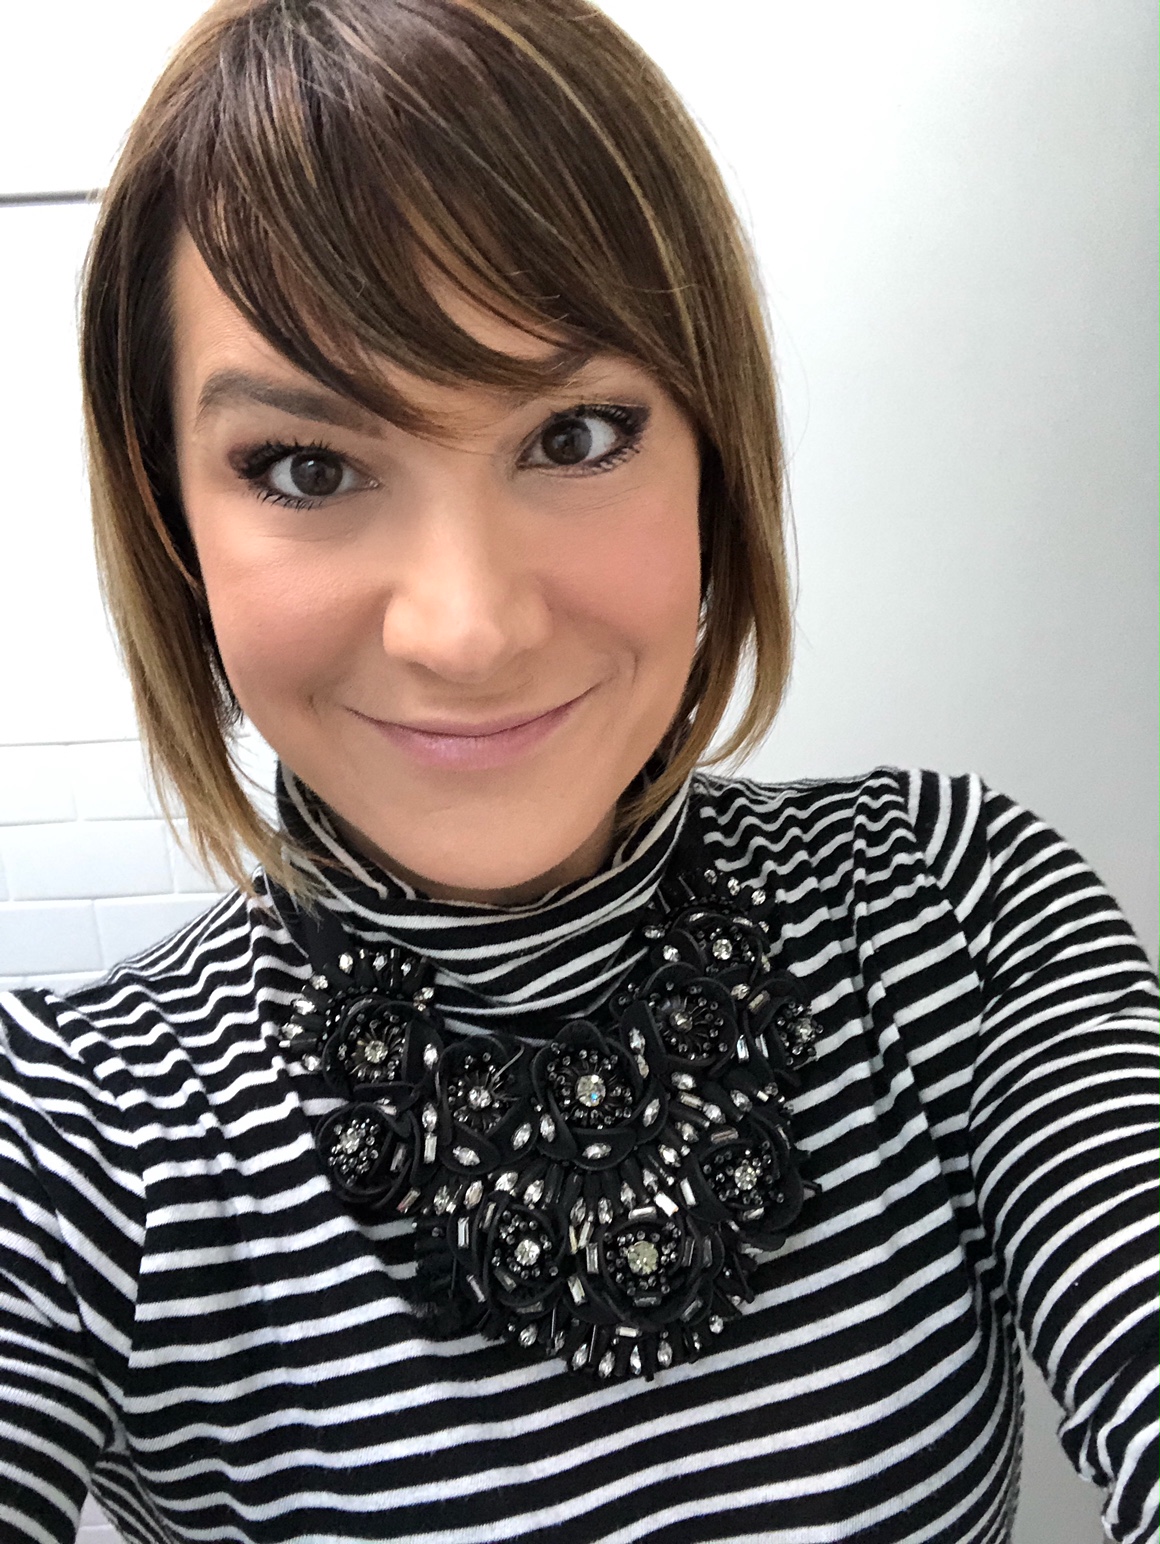
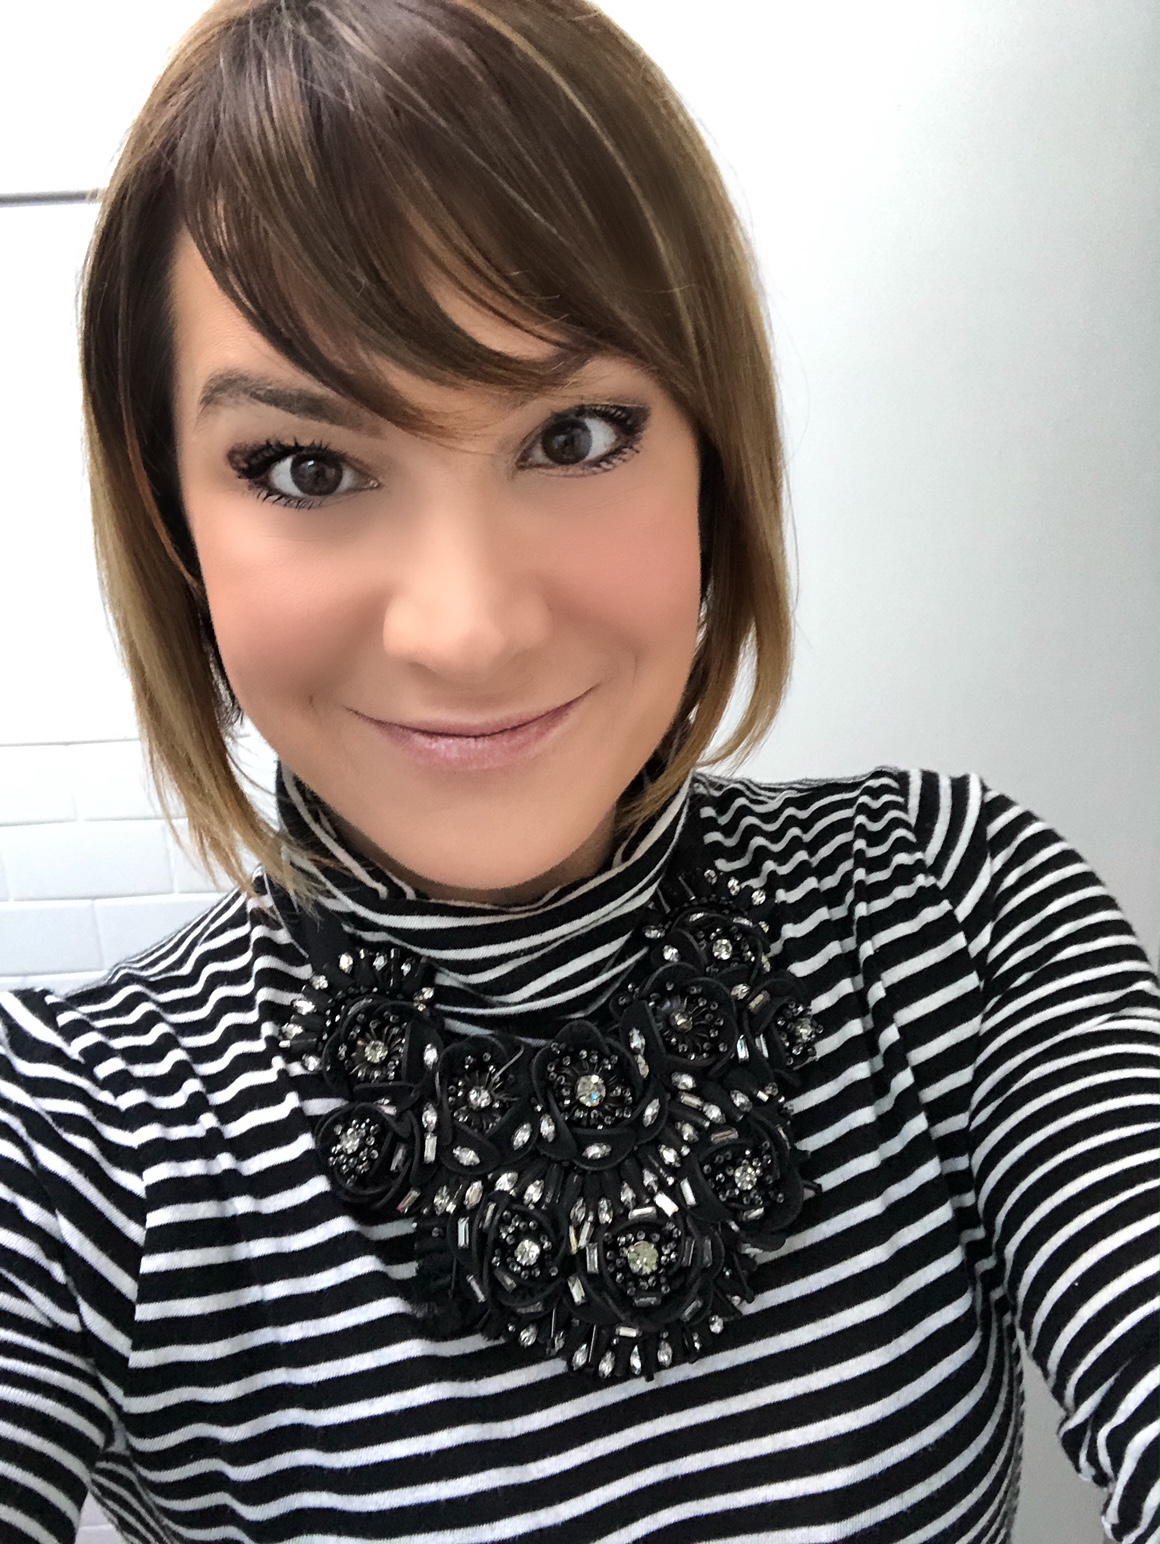
Natural light evens out skin tone and allows for sharper, more detailed images. To avoid back lighting (photo 1), always position yourself facing the light source (photo 2).
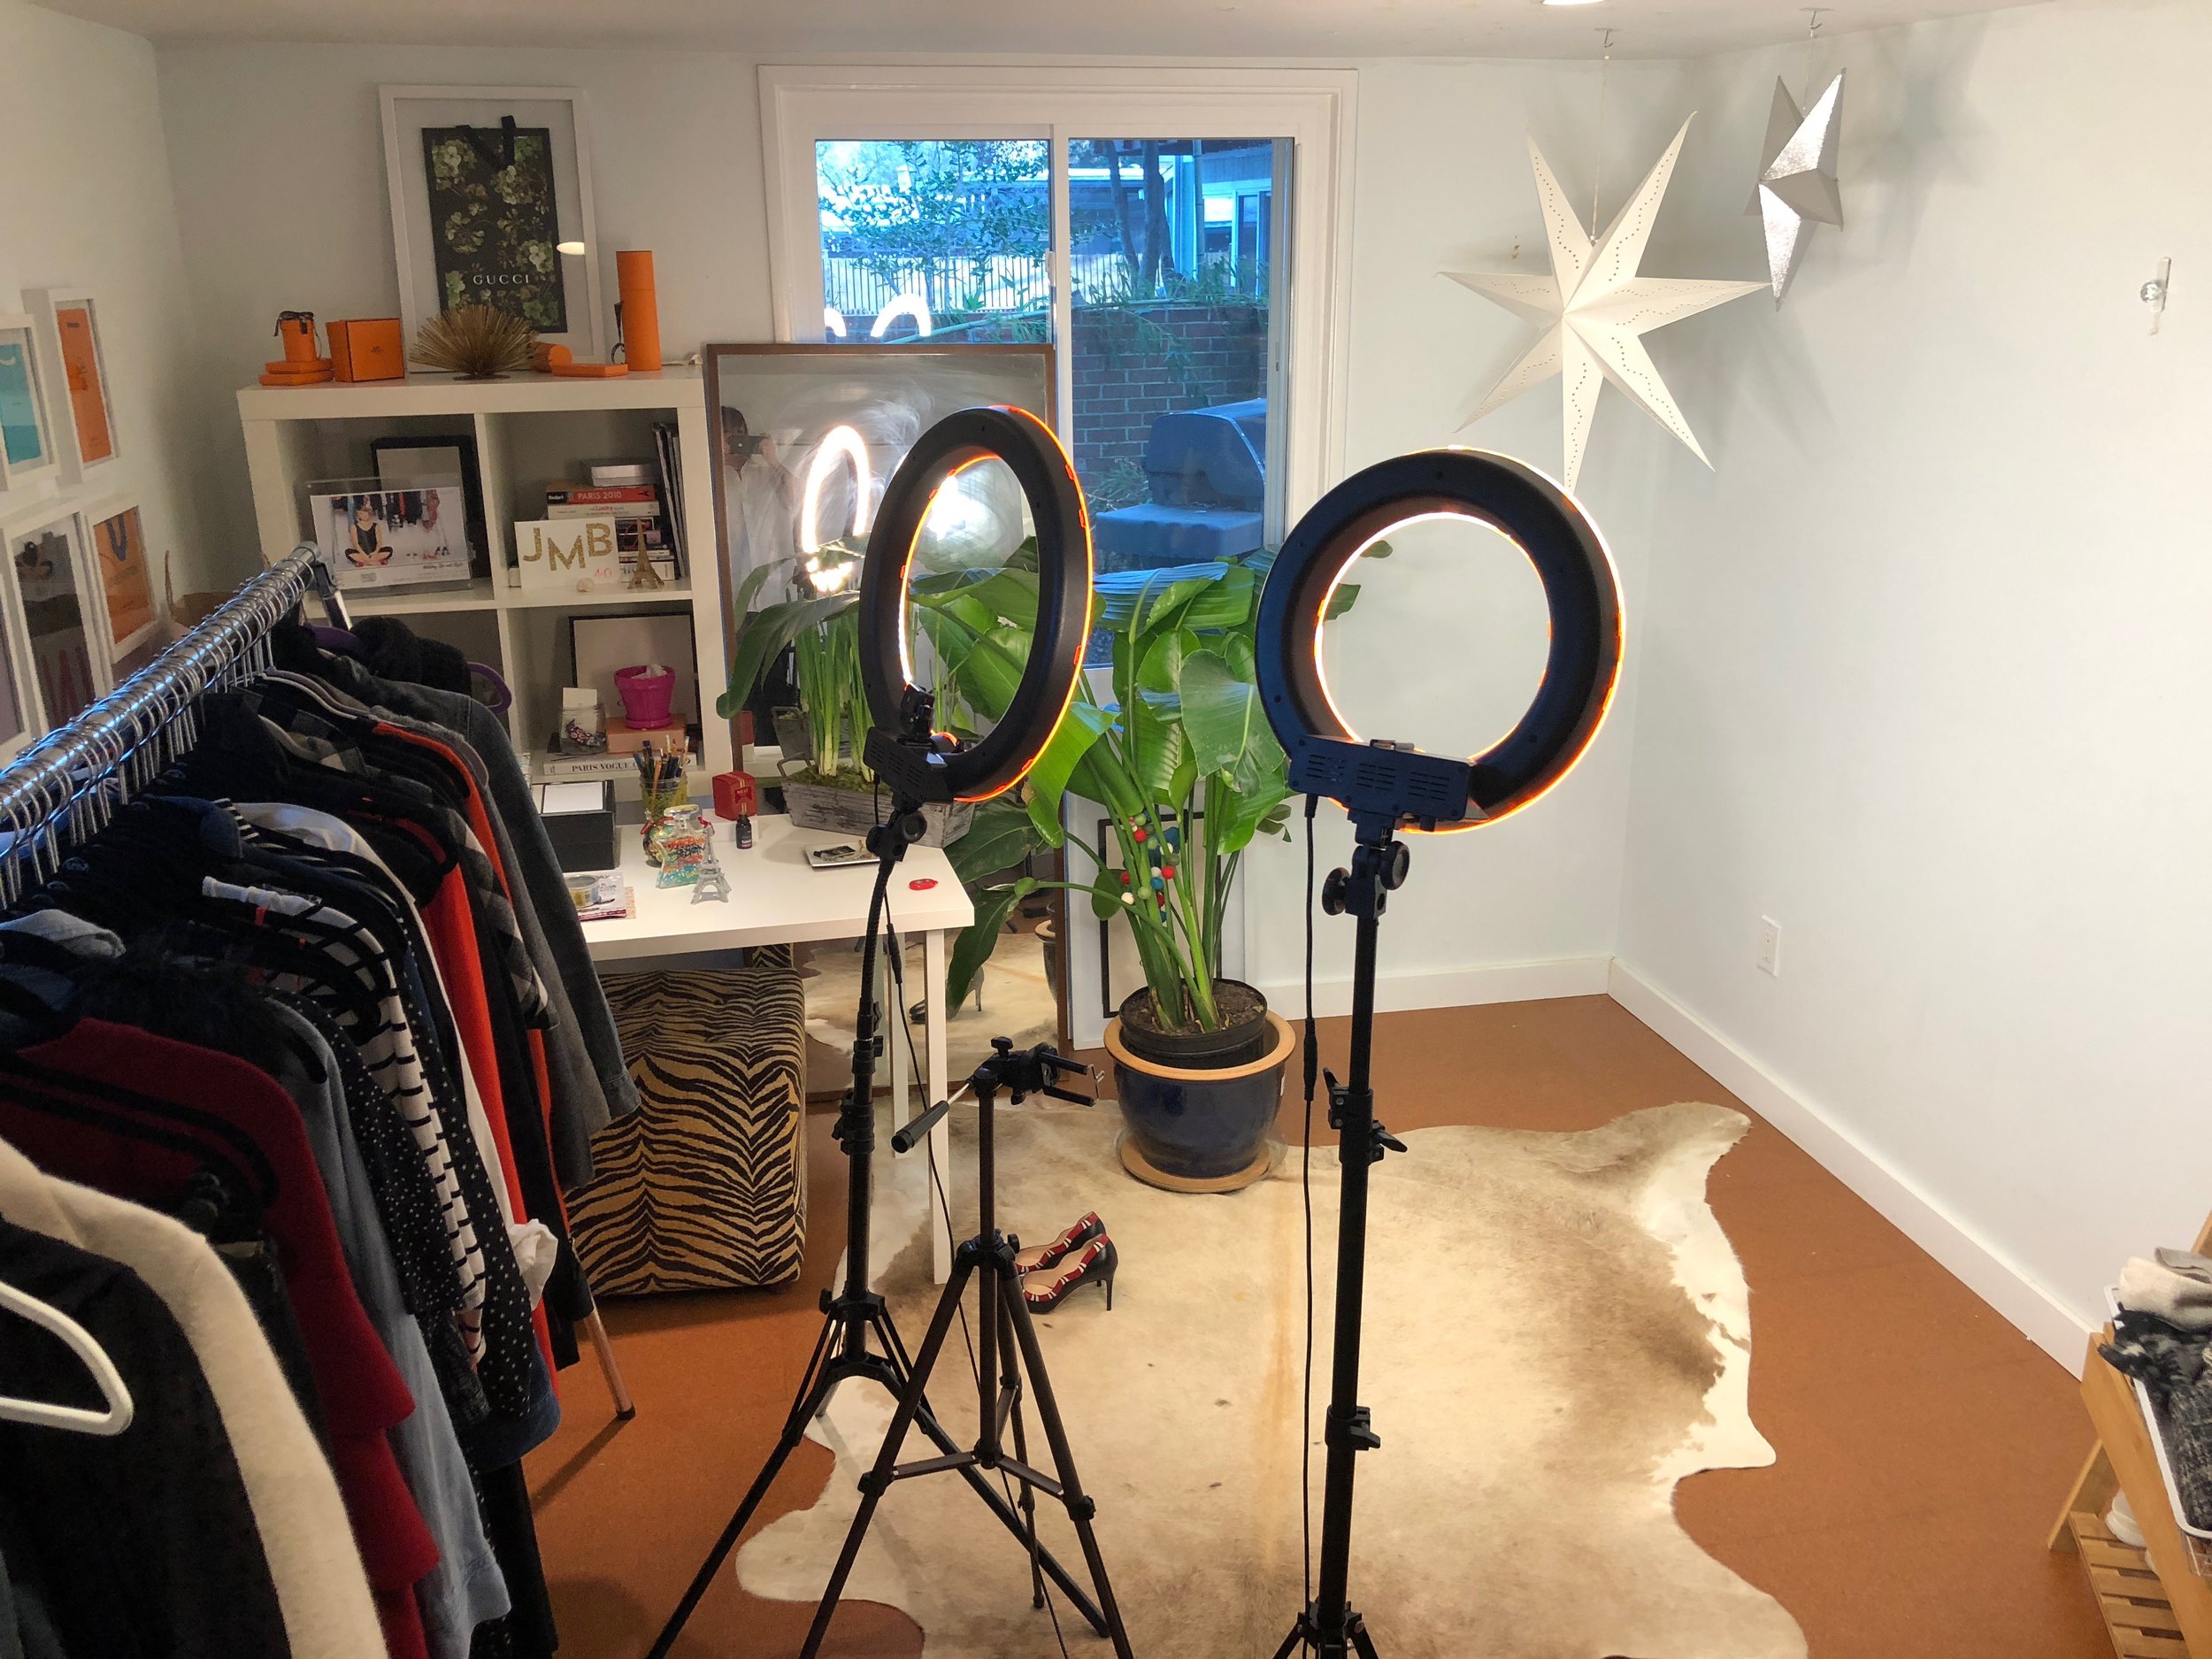
Blogger Lighting: Ring Light
Ring lights have been used by professional photographers for years. With the advent of Amazon and accessible price points, the ring light is now a must have tool for v-loggers and fashion bloggers. Basically, a ring lights eliminates hard shadows from your face so you look like your best self.

Non Sponsored Product Recommendation: Ring Light
I purchased my NEEWER ring light from Amazon and it is hands down amazing.

- Daylight and warm light filters
- An incredibly sturdy adjustable stand with a bendable neck (perfect for angling top down shots of shoes, projects or flat lays)
- Bluetooth camera remote (which eliminates need for the self timer and syncs with your phone camera wherever or not you are near the ring light)
- Smart phone mount in the center of the ring (but it only works in horizontal position, so I still use the tripod for length wise shots).
Tip 2: Play with Filters and Photo Editing
There are hundreds of photo editing apps available for your smart phone or mobile device. The two that I use most frequently are Facetune (available on Android and IOS, $3.99) and A Color Story (available on Android and IOS, free with in-app upgrades).
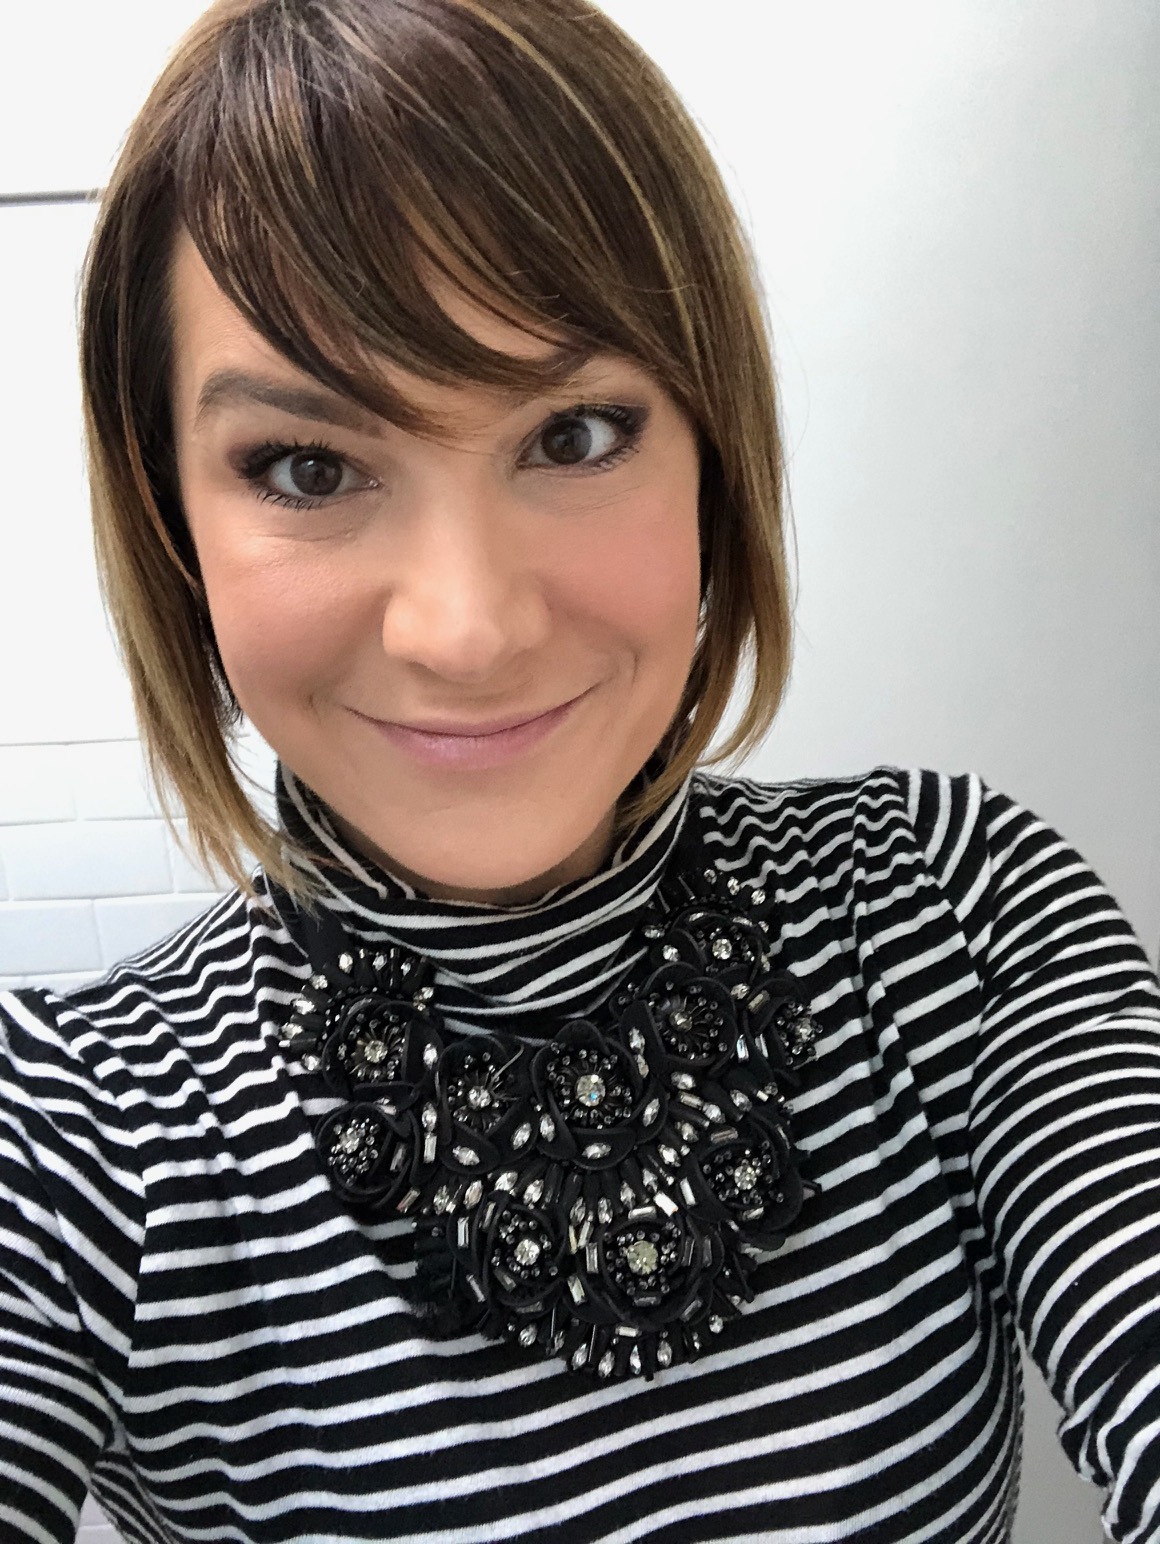
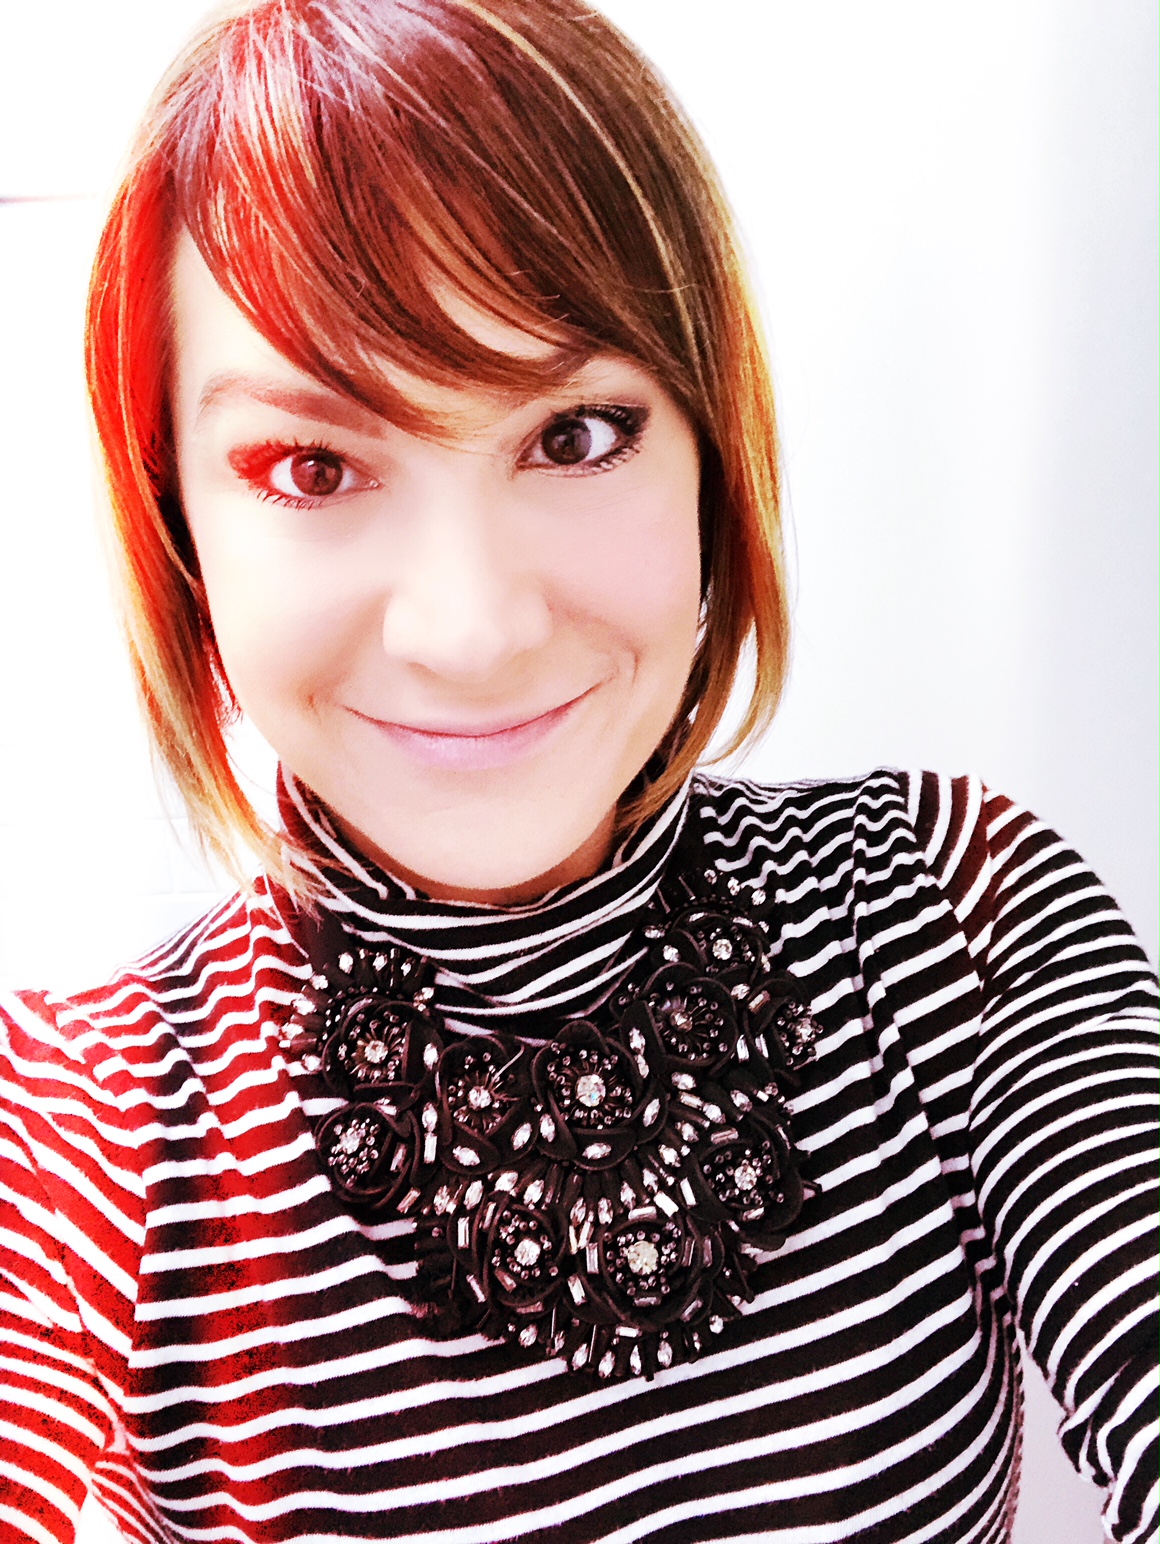
Facetune - Refine Face and Body
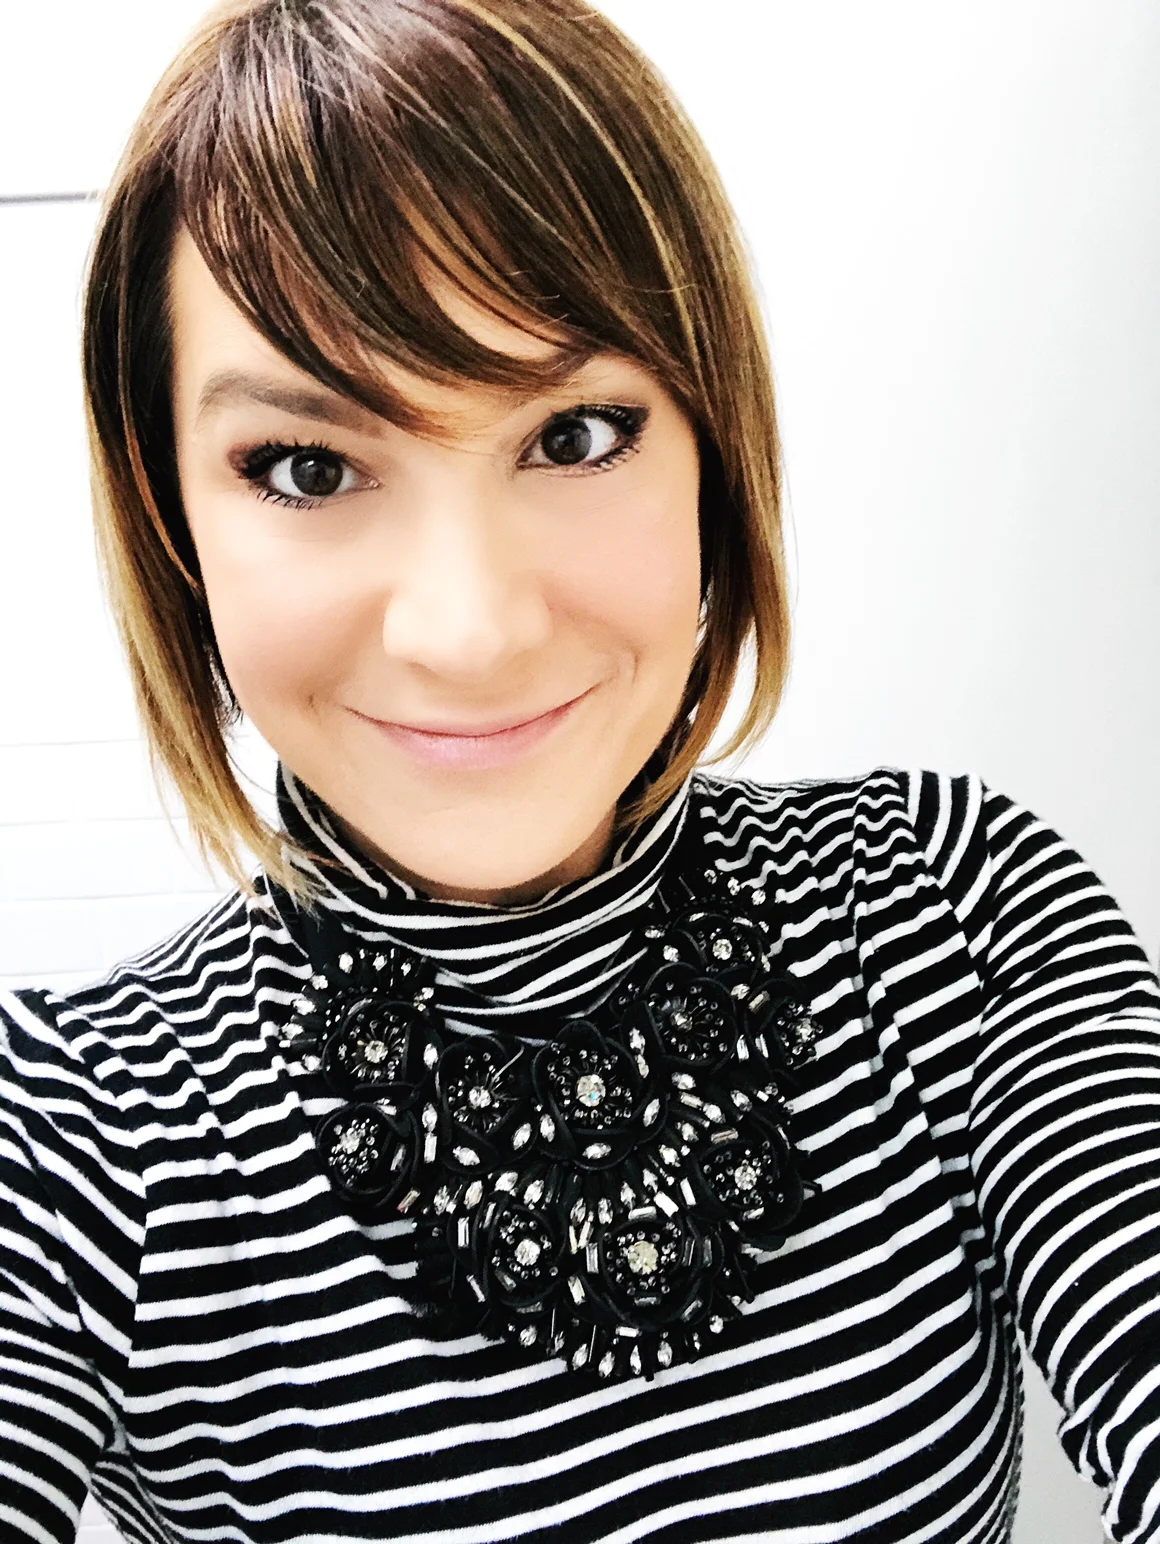
Facetune allows you to smooth wrinkles, erase blemishes, brighten eyes and even tweak the shape of your face and body! I don't go that far but (full disclosure!) I use the SMOOTH feature under my eyes and the WHITEN feature on eye whites and teeth in about 80% of my photos. If the actual lighting of the original shot is amazing (it does happen) I don't use Facetune at all. But I usually do. Think of Facetune and similar apps as makeup - use a light hand so it's not obvious. See examples below.
Facetune Before and After
A Color Story - Filters, Lighting and After Effects
After Facetune, I open the edited photo in A Color Story to enhance lighting. Like Facetune, A Color Story is chock full of features but I almost always only use the POP filter in Essentials because the bright and fresh finish reflects the MappCraft | Tiny Closet, Tons of Style® visual strategy.
A Color Story Filters
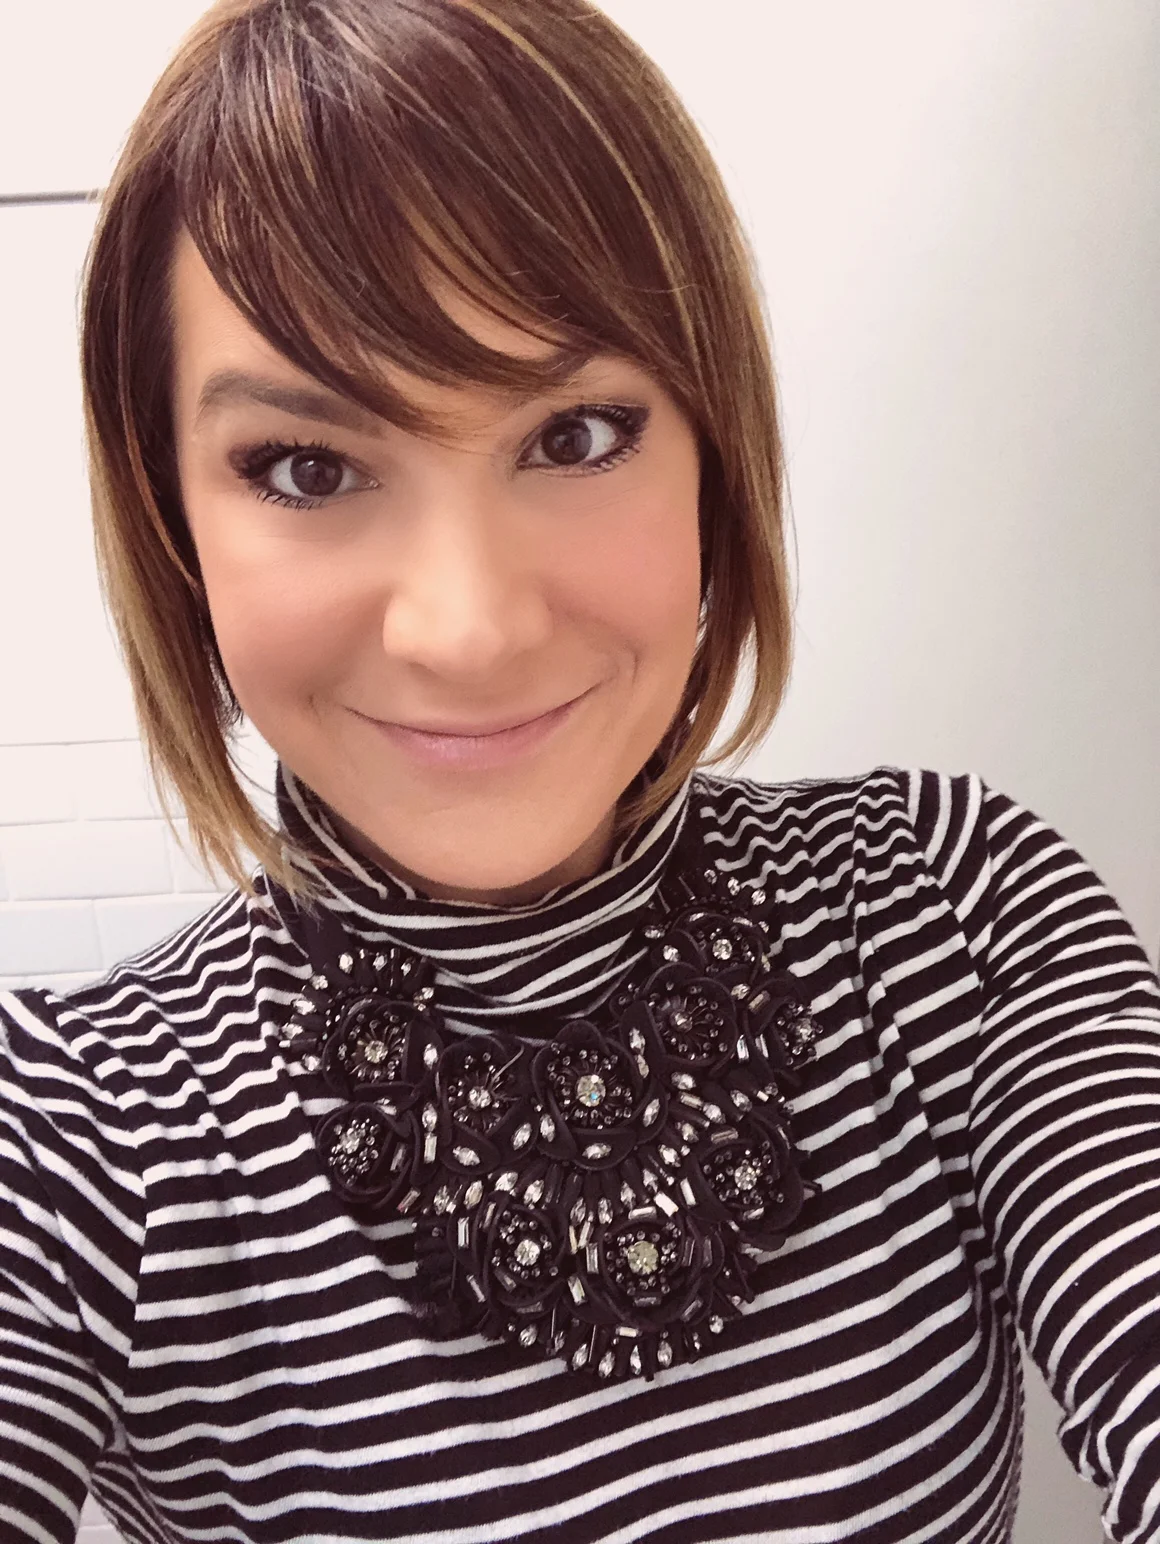
Side by Side Before and After Editing


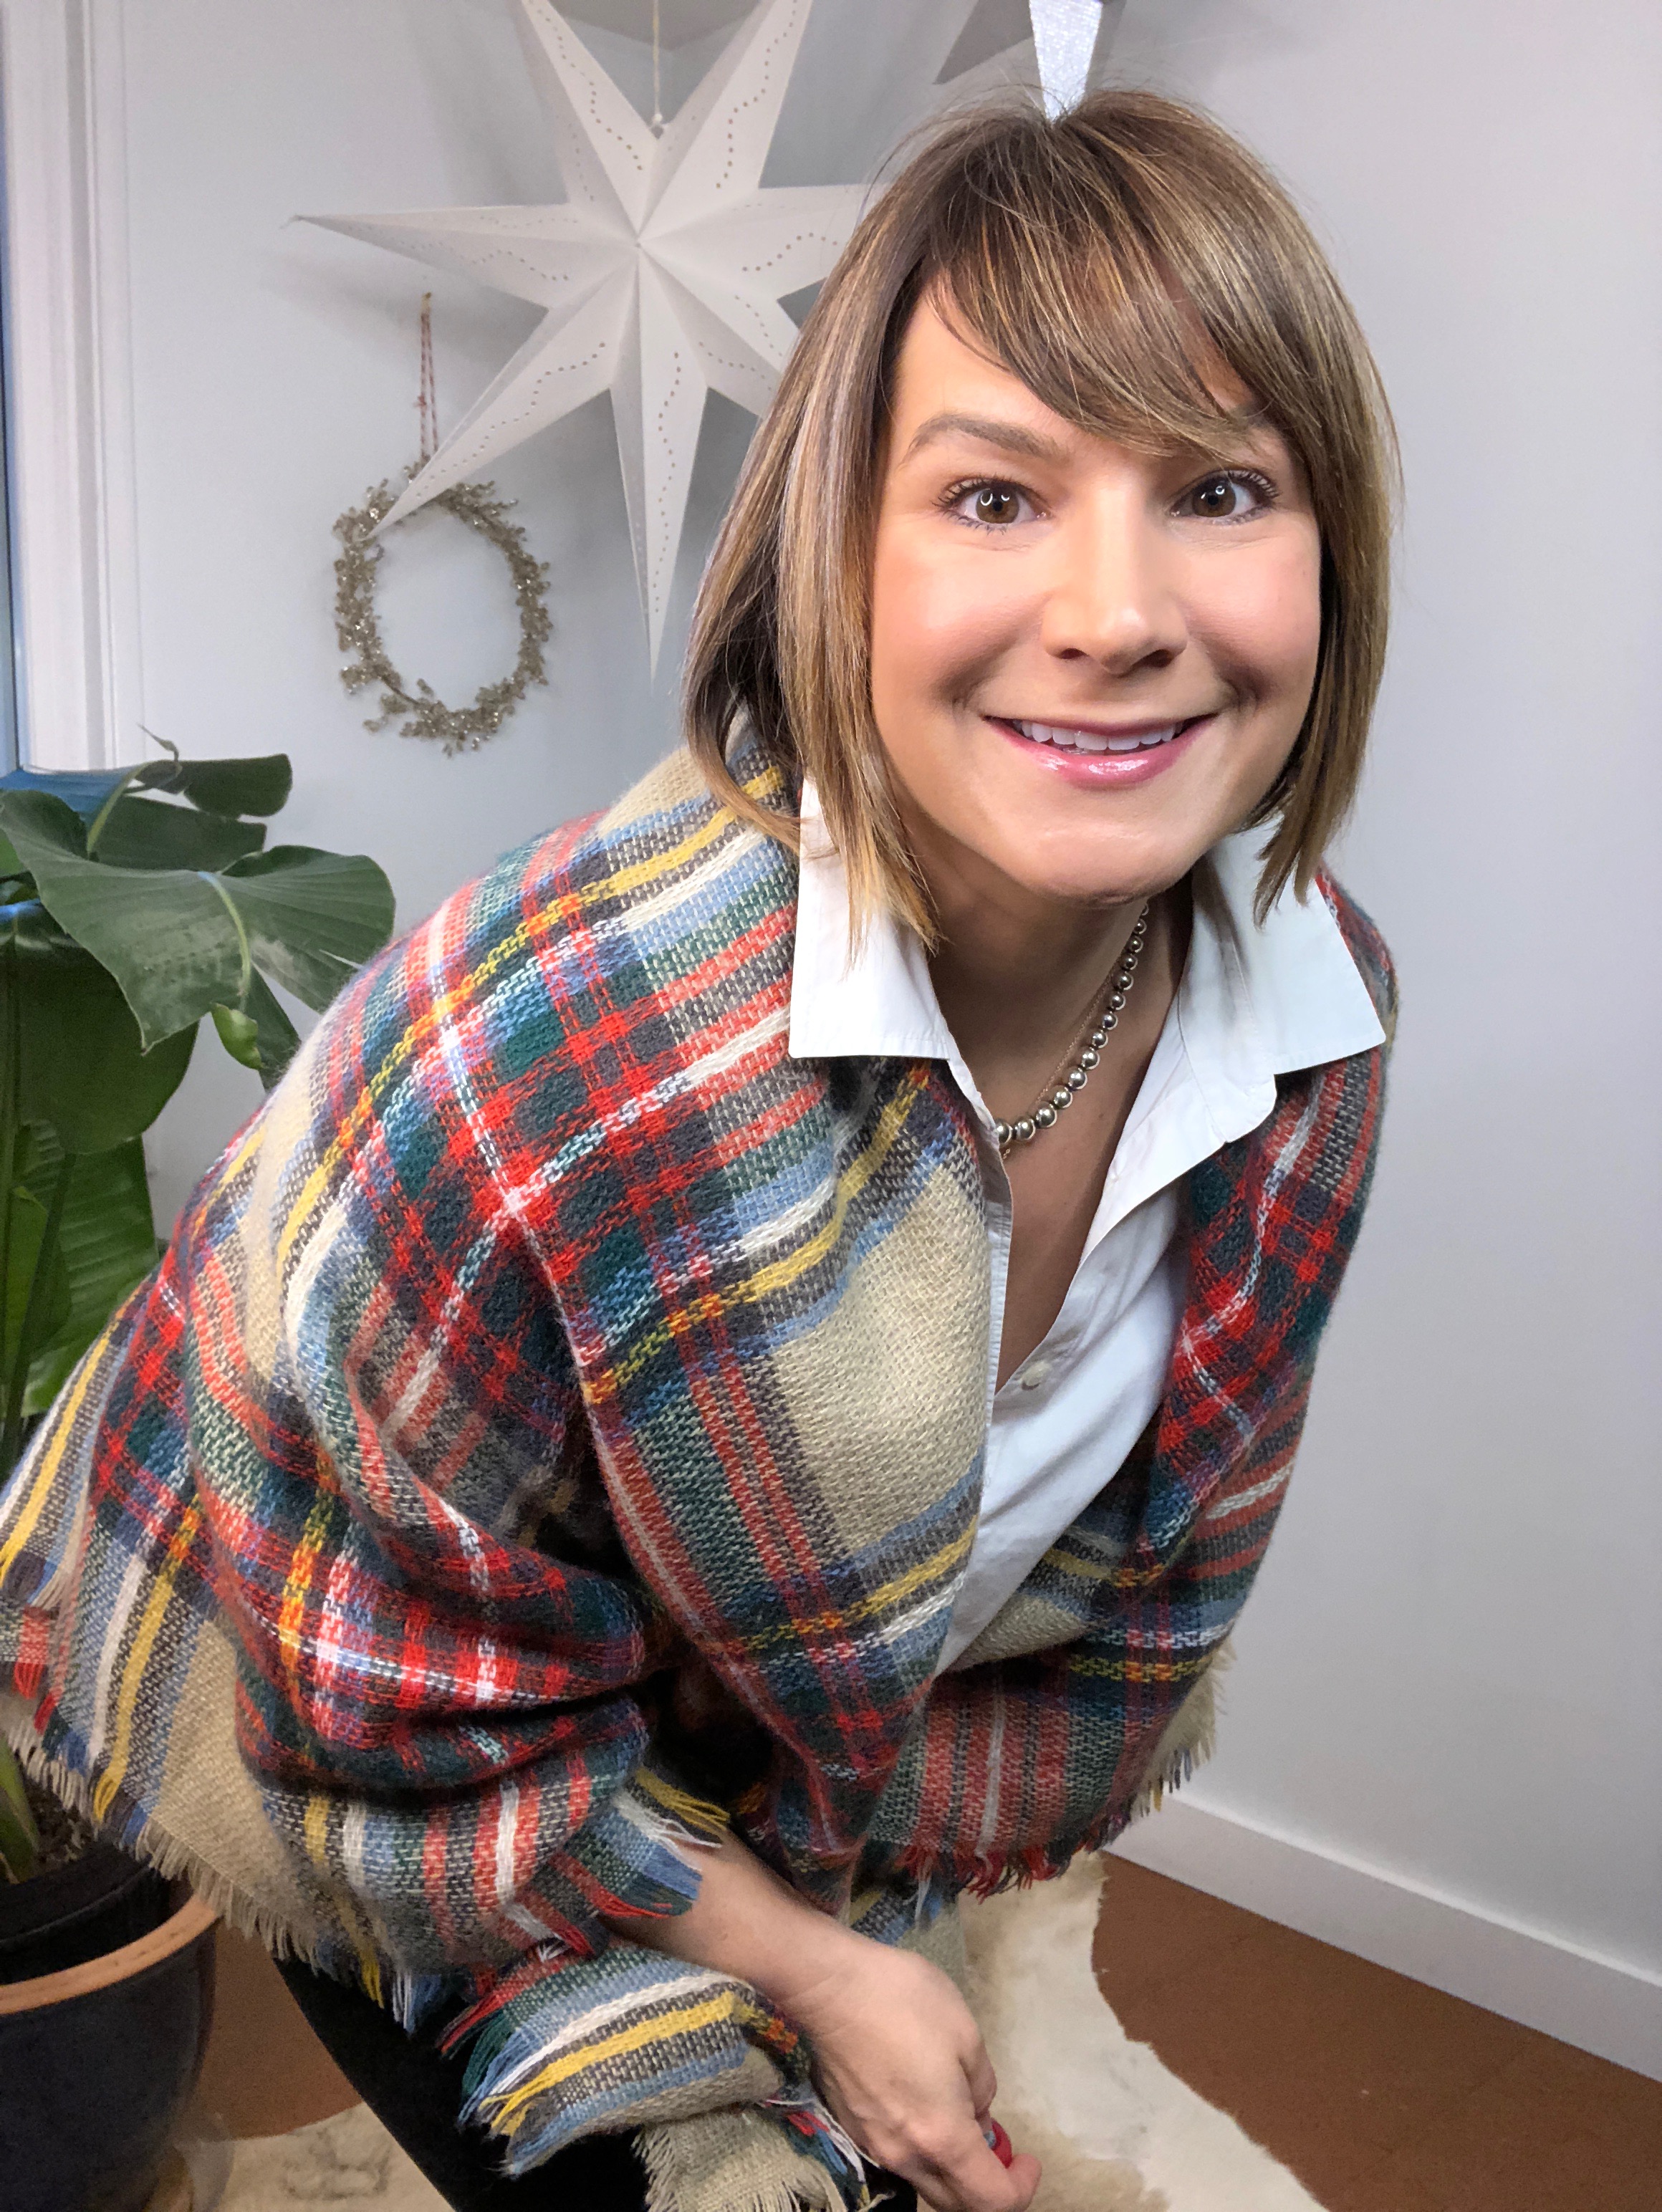
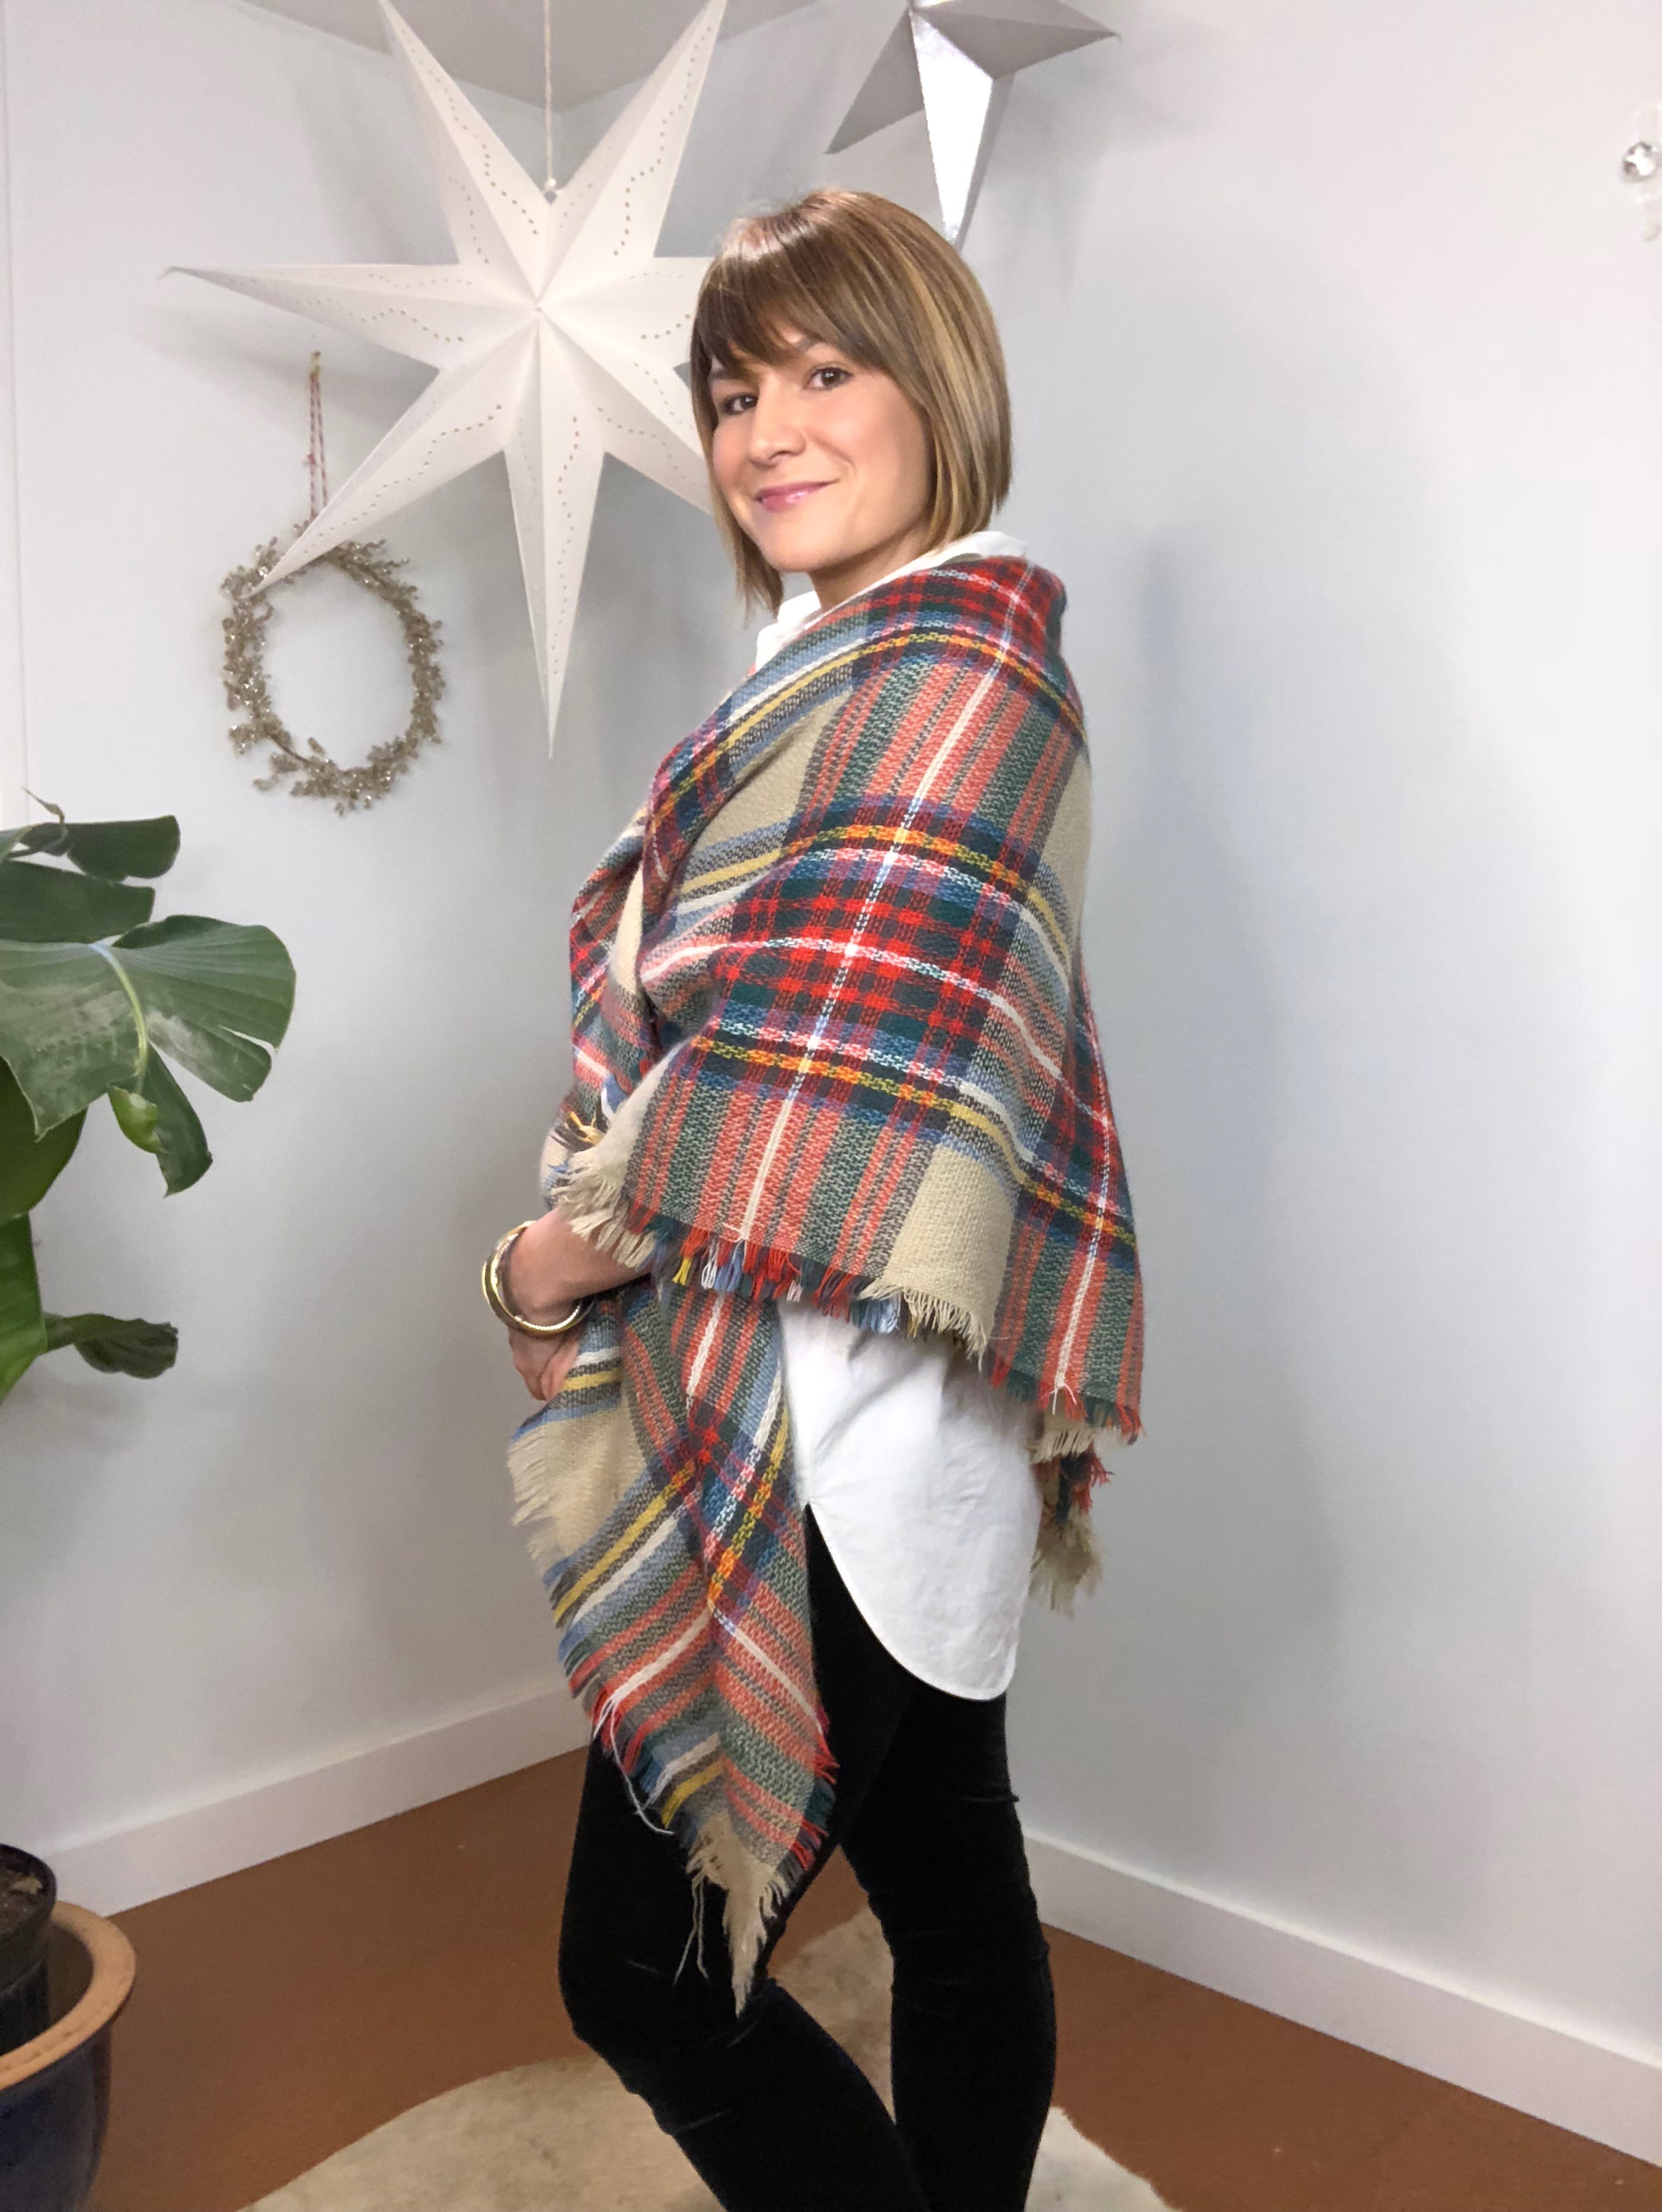
Tip 3: Practice Poses
We aren't models. To capture the perfect outfit selfie I take between 5 and 50 shots. Seriously! Every body, face and outfit has an ideal angle. To hone in on yours - practice! Use the timer and burst mode to play with different angles, body positions and poses.
General tips on posing:
- Position camera at eye level or higher, ground level shots add 15 pounds
- Chin slightly up (but not too much or it will look forced)
- Arms away from body - one or both hands on hips is universally flattering but don't do it in every shot
- Posture! Stand up straight, suck in your belly and tip your hips slightly backwards
- Smile naturally and look square into camera lens (especially on video)
- Consider candids! Practice taking shots while talking, laughing or gesticulating. I take by best photos while simultaneously filming a video

Your Turn!
Feeling inspired to take an outfit shot? Share your looks on the MappCraft | Tiny Closet® Survival Guide Facebook group.
Or you can always call me and I will take outfit shots of you in a customized seasonal wardrobe we craft from the clothes in your actual closet. I’ll even make you outfit formulas and teach you how to accessorize. But don't take my word for it! MappCraft | Tiny Closet, Tons of Style® was named Best Service to Pair Down Your Closet by Washingtonian Magazine.
Be the Bright!
Jenn